There are a whole bunch of little muscles and bones in the feet. They are marvels of engineering, they can bend and adapt in countless ways. Unfortunately, in our modern world, we spend a lot of time walking on flat surfaces, with our feet locked in place in stiff shoes, and so these muscles are often weaker than they should be. This can make everyday activities more difficult, to say nothing of running long distances.
These exercises aim to help strengthen the little stabilizing muscles in the feet and ankles, and improve balance. Do one or more sets of as many reps as feels comfortable to you.
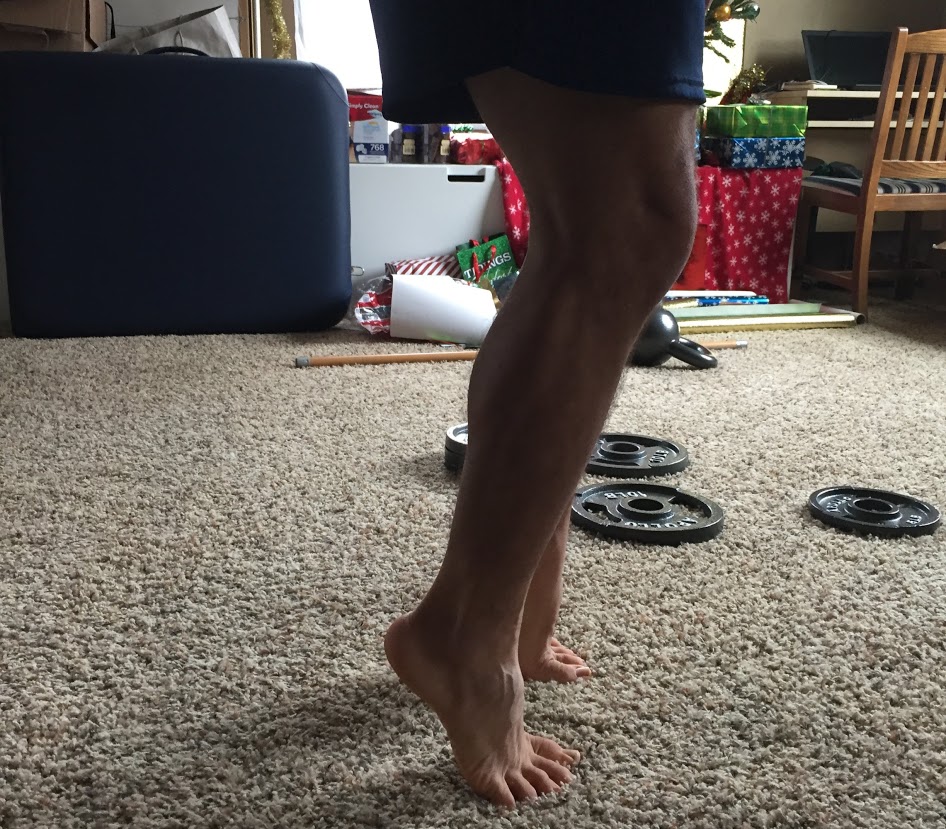
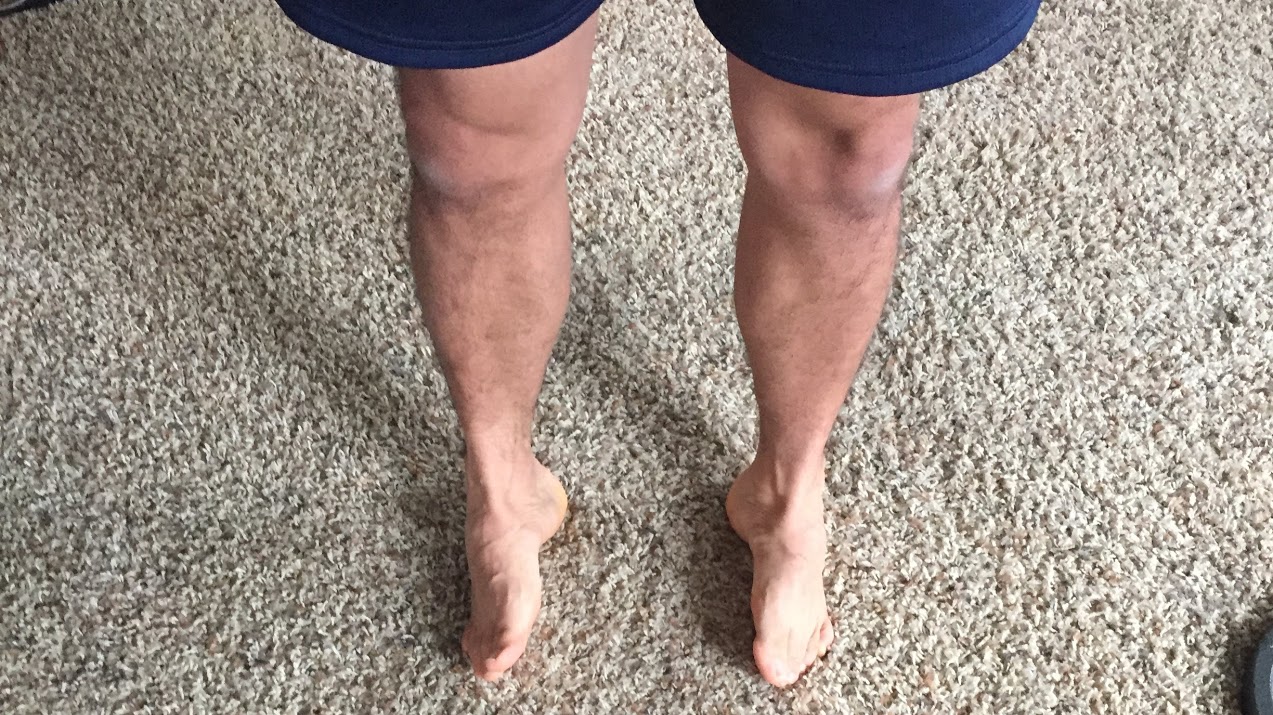
Calf Raises: Straight Leg
Straight forward – the standard. Raise up on your toes, putting your weight on the balls of your feet, keeping knees and torso straight.
Outward – raise up on your toes, putting your weight on the outside of the balls of your feet.
Inward – raise up on your toes, putting your weight on your big toes.
Onto heels – lift your toes off the ground, putting your weight on your heels.
You can also try these on one leg for more intensity!
Calf Raises: Bent Leg
Keep knees statically bent a little. This uses different muscles than the straight-leg calf raises, and makes it harder.
Straight forward – the standard. Keep weight in the middle of the balls of your feet.
Outward – same as before, but with bent knees.
Inward – same as before, but with bent knees.
Onto heels – same as before, but with bent knees.
Ankle Rolls
Roll out – standing up with straight legs, roll your ankles carefully outward, not going past the limit of your flexibility.
Roll in – carefully roll your ankles inward. You won’t be able to go as far as outward, be very careful to not push too far. This will help you keep from spraining your ankle in the event that you DO roll your ankle.
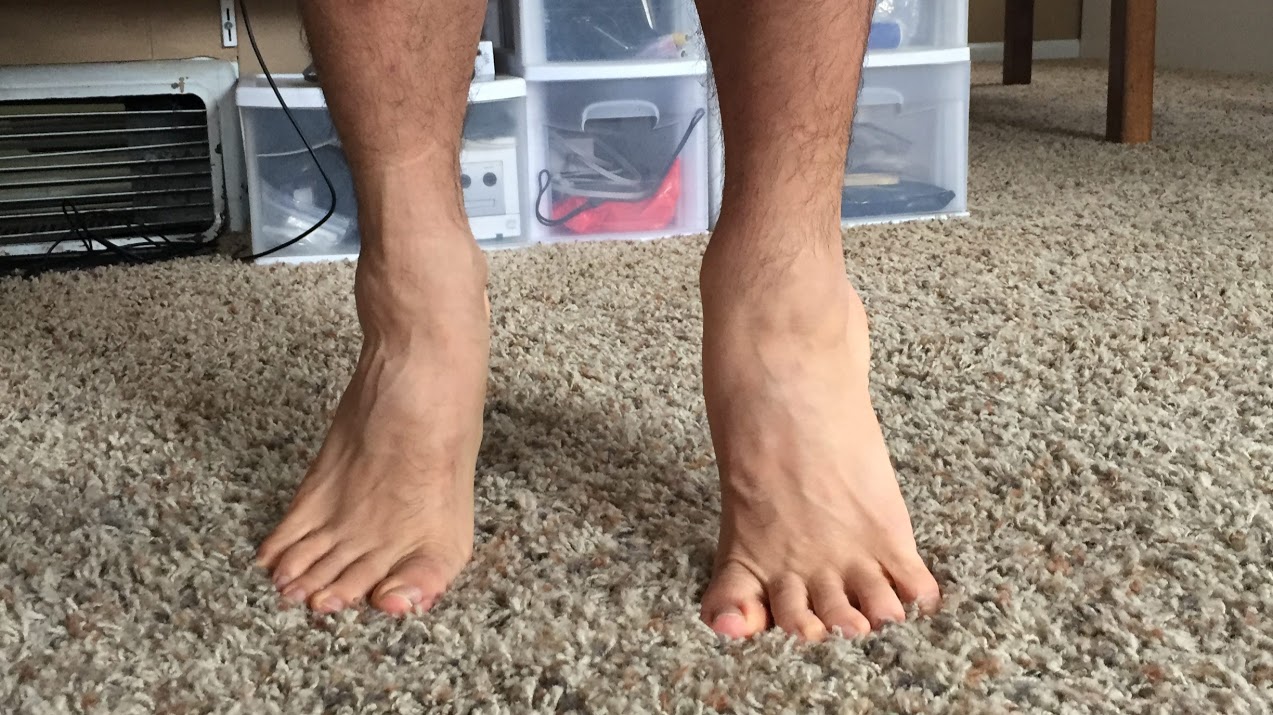
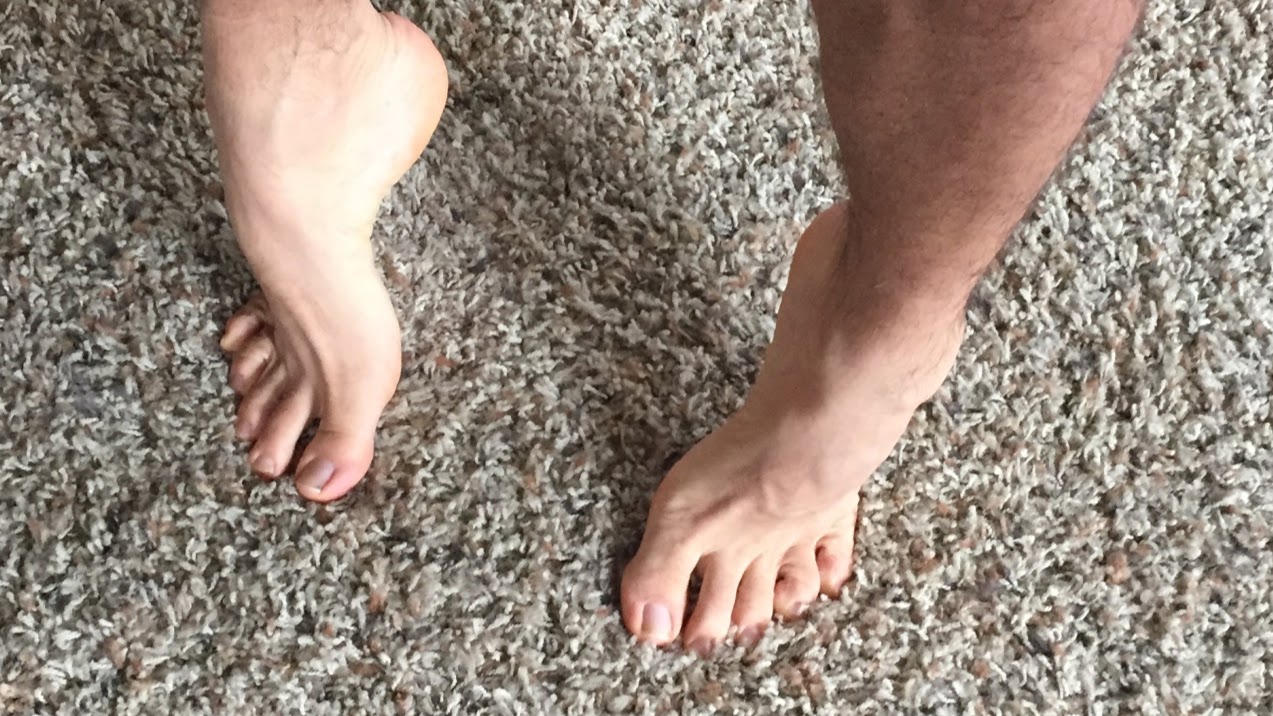
Toe Grabbing
Sit on floor and grab coat with toes, flex foot down and inward, let go and repeat. This helps toe dexterity.
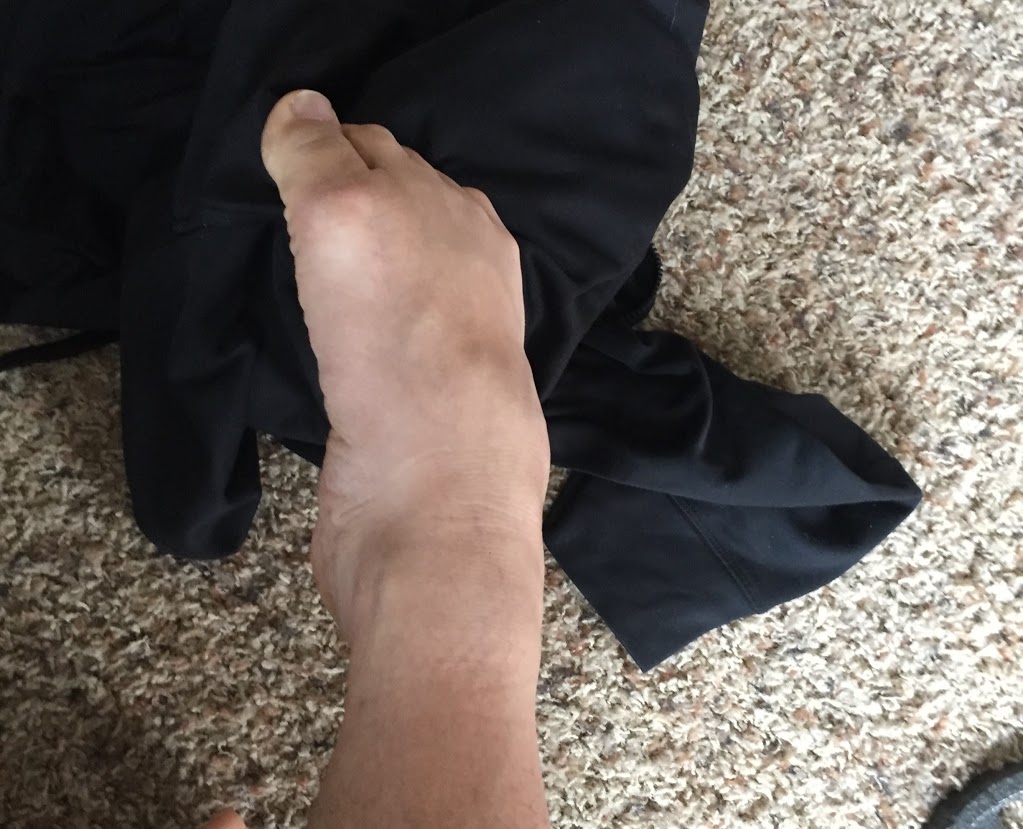
Spread out coat with toes – the opposite motion to the previous one, push out with your toes and try to spread a coat out on the floor.
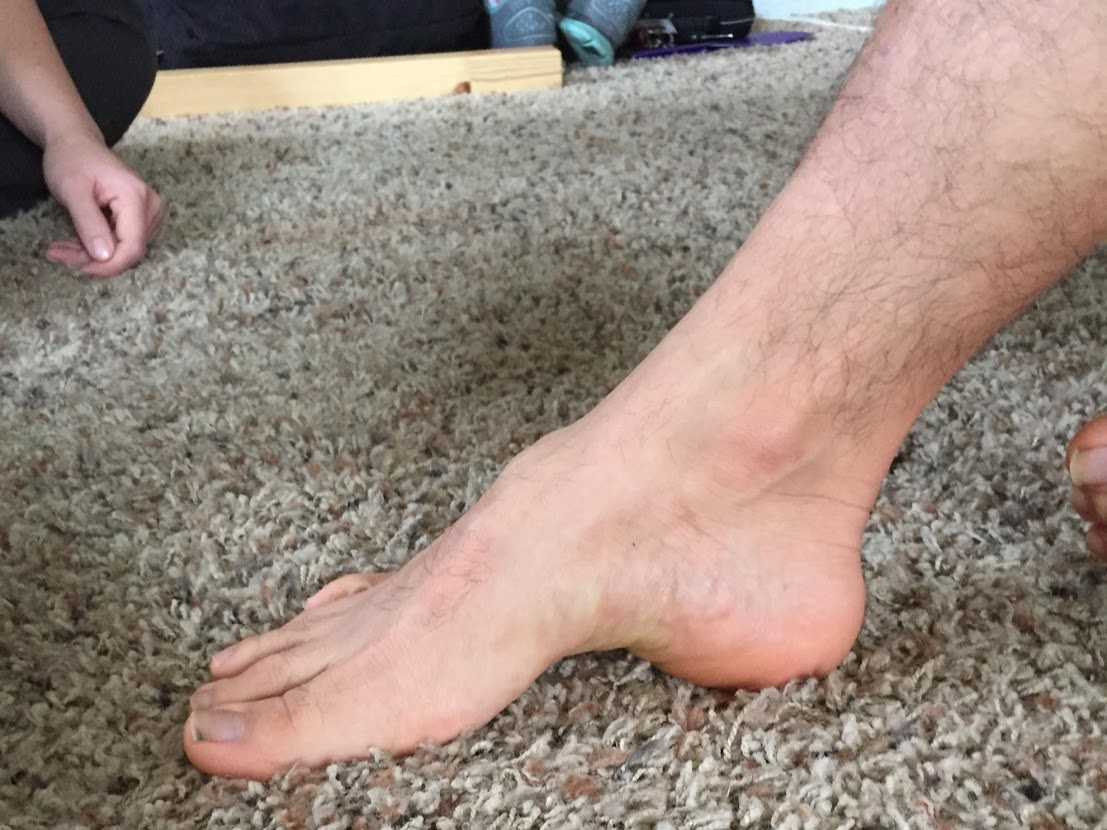
Arch Flexes
Arch flexes: put the heel and ball of your foot on the floor, lift your arch and push the ball of the foot into the floor. Your toes can come up off the floor but don’t let them clench. This will help strengthen your arches.
Miscellaneous
- Standing/rolling on styrofoam dome, made from half a styrofoam ball.
- Japanese kneel with toes bent up