I’ve had this laptop for several years, and it’s started getting sluggish, so I thought I’d upgrade it to an SSD to speed it up. It’s a nice laptop, aluminum body, i7 processor, 8GB RAM (also on the upgrade list), 1TB HDD (which is what I swapped out today).
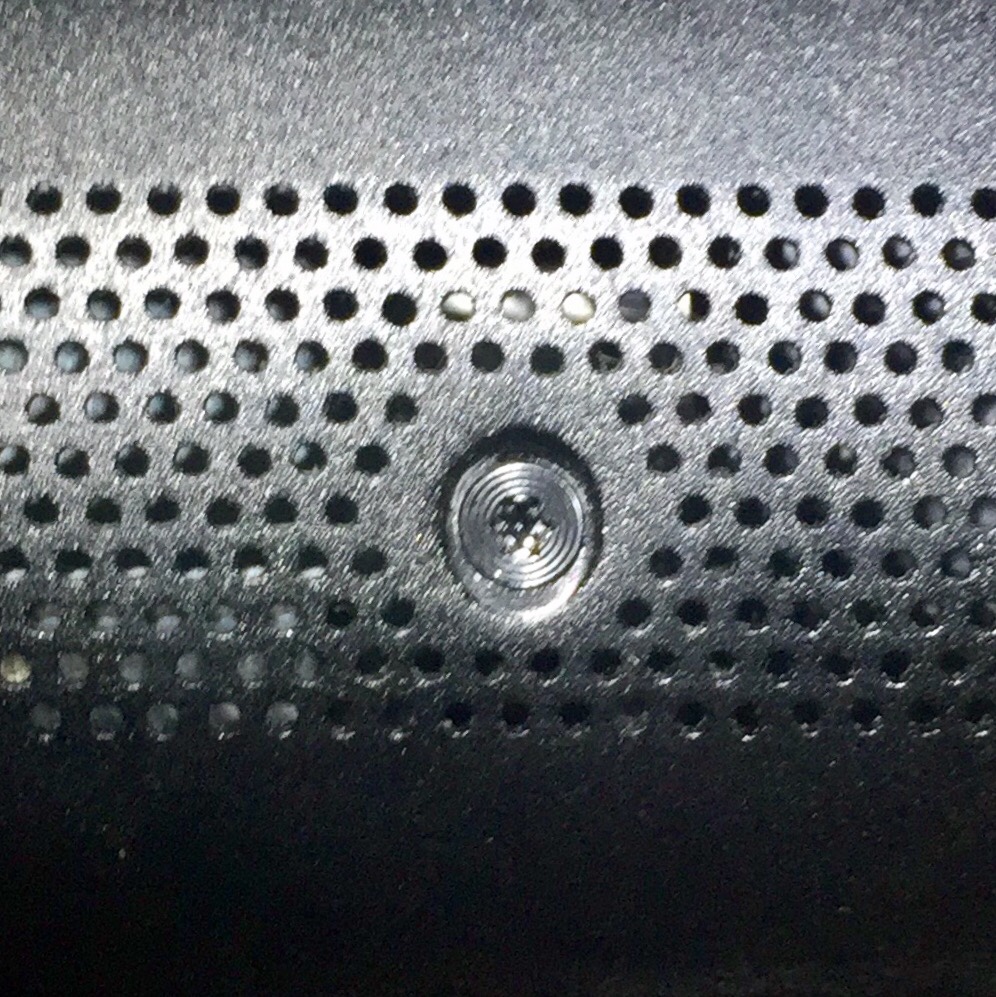
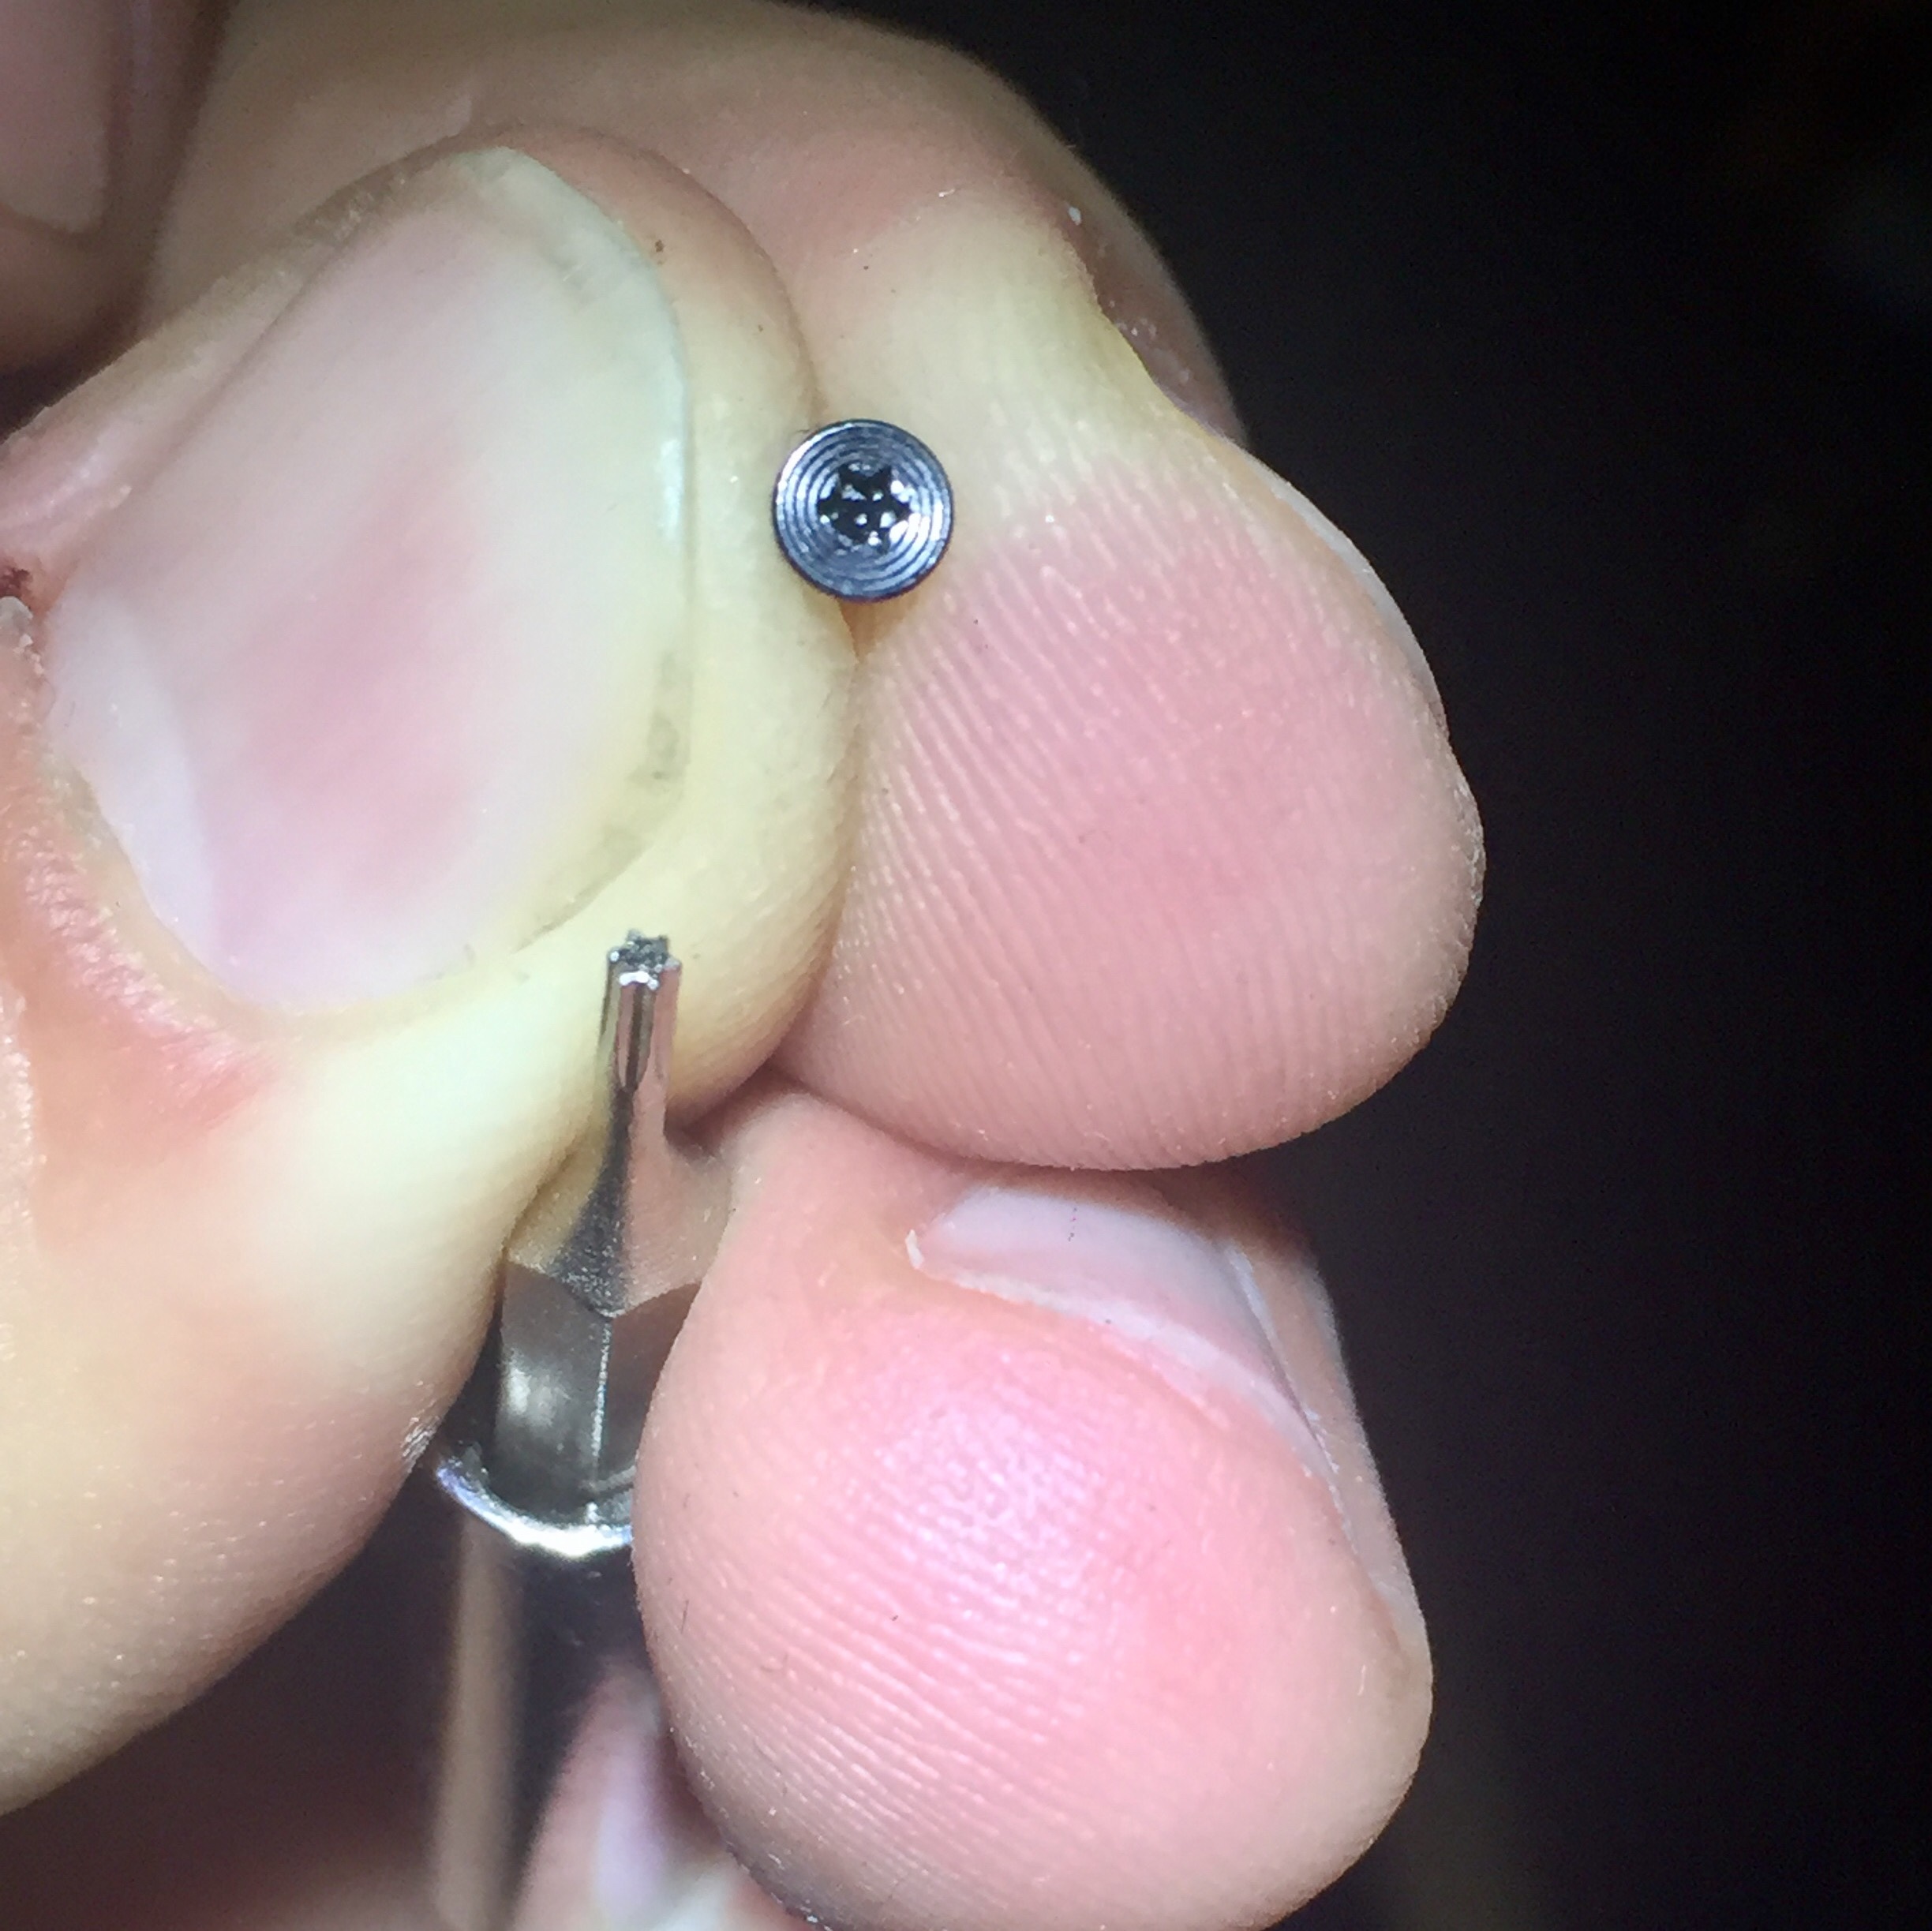
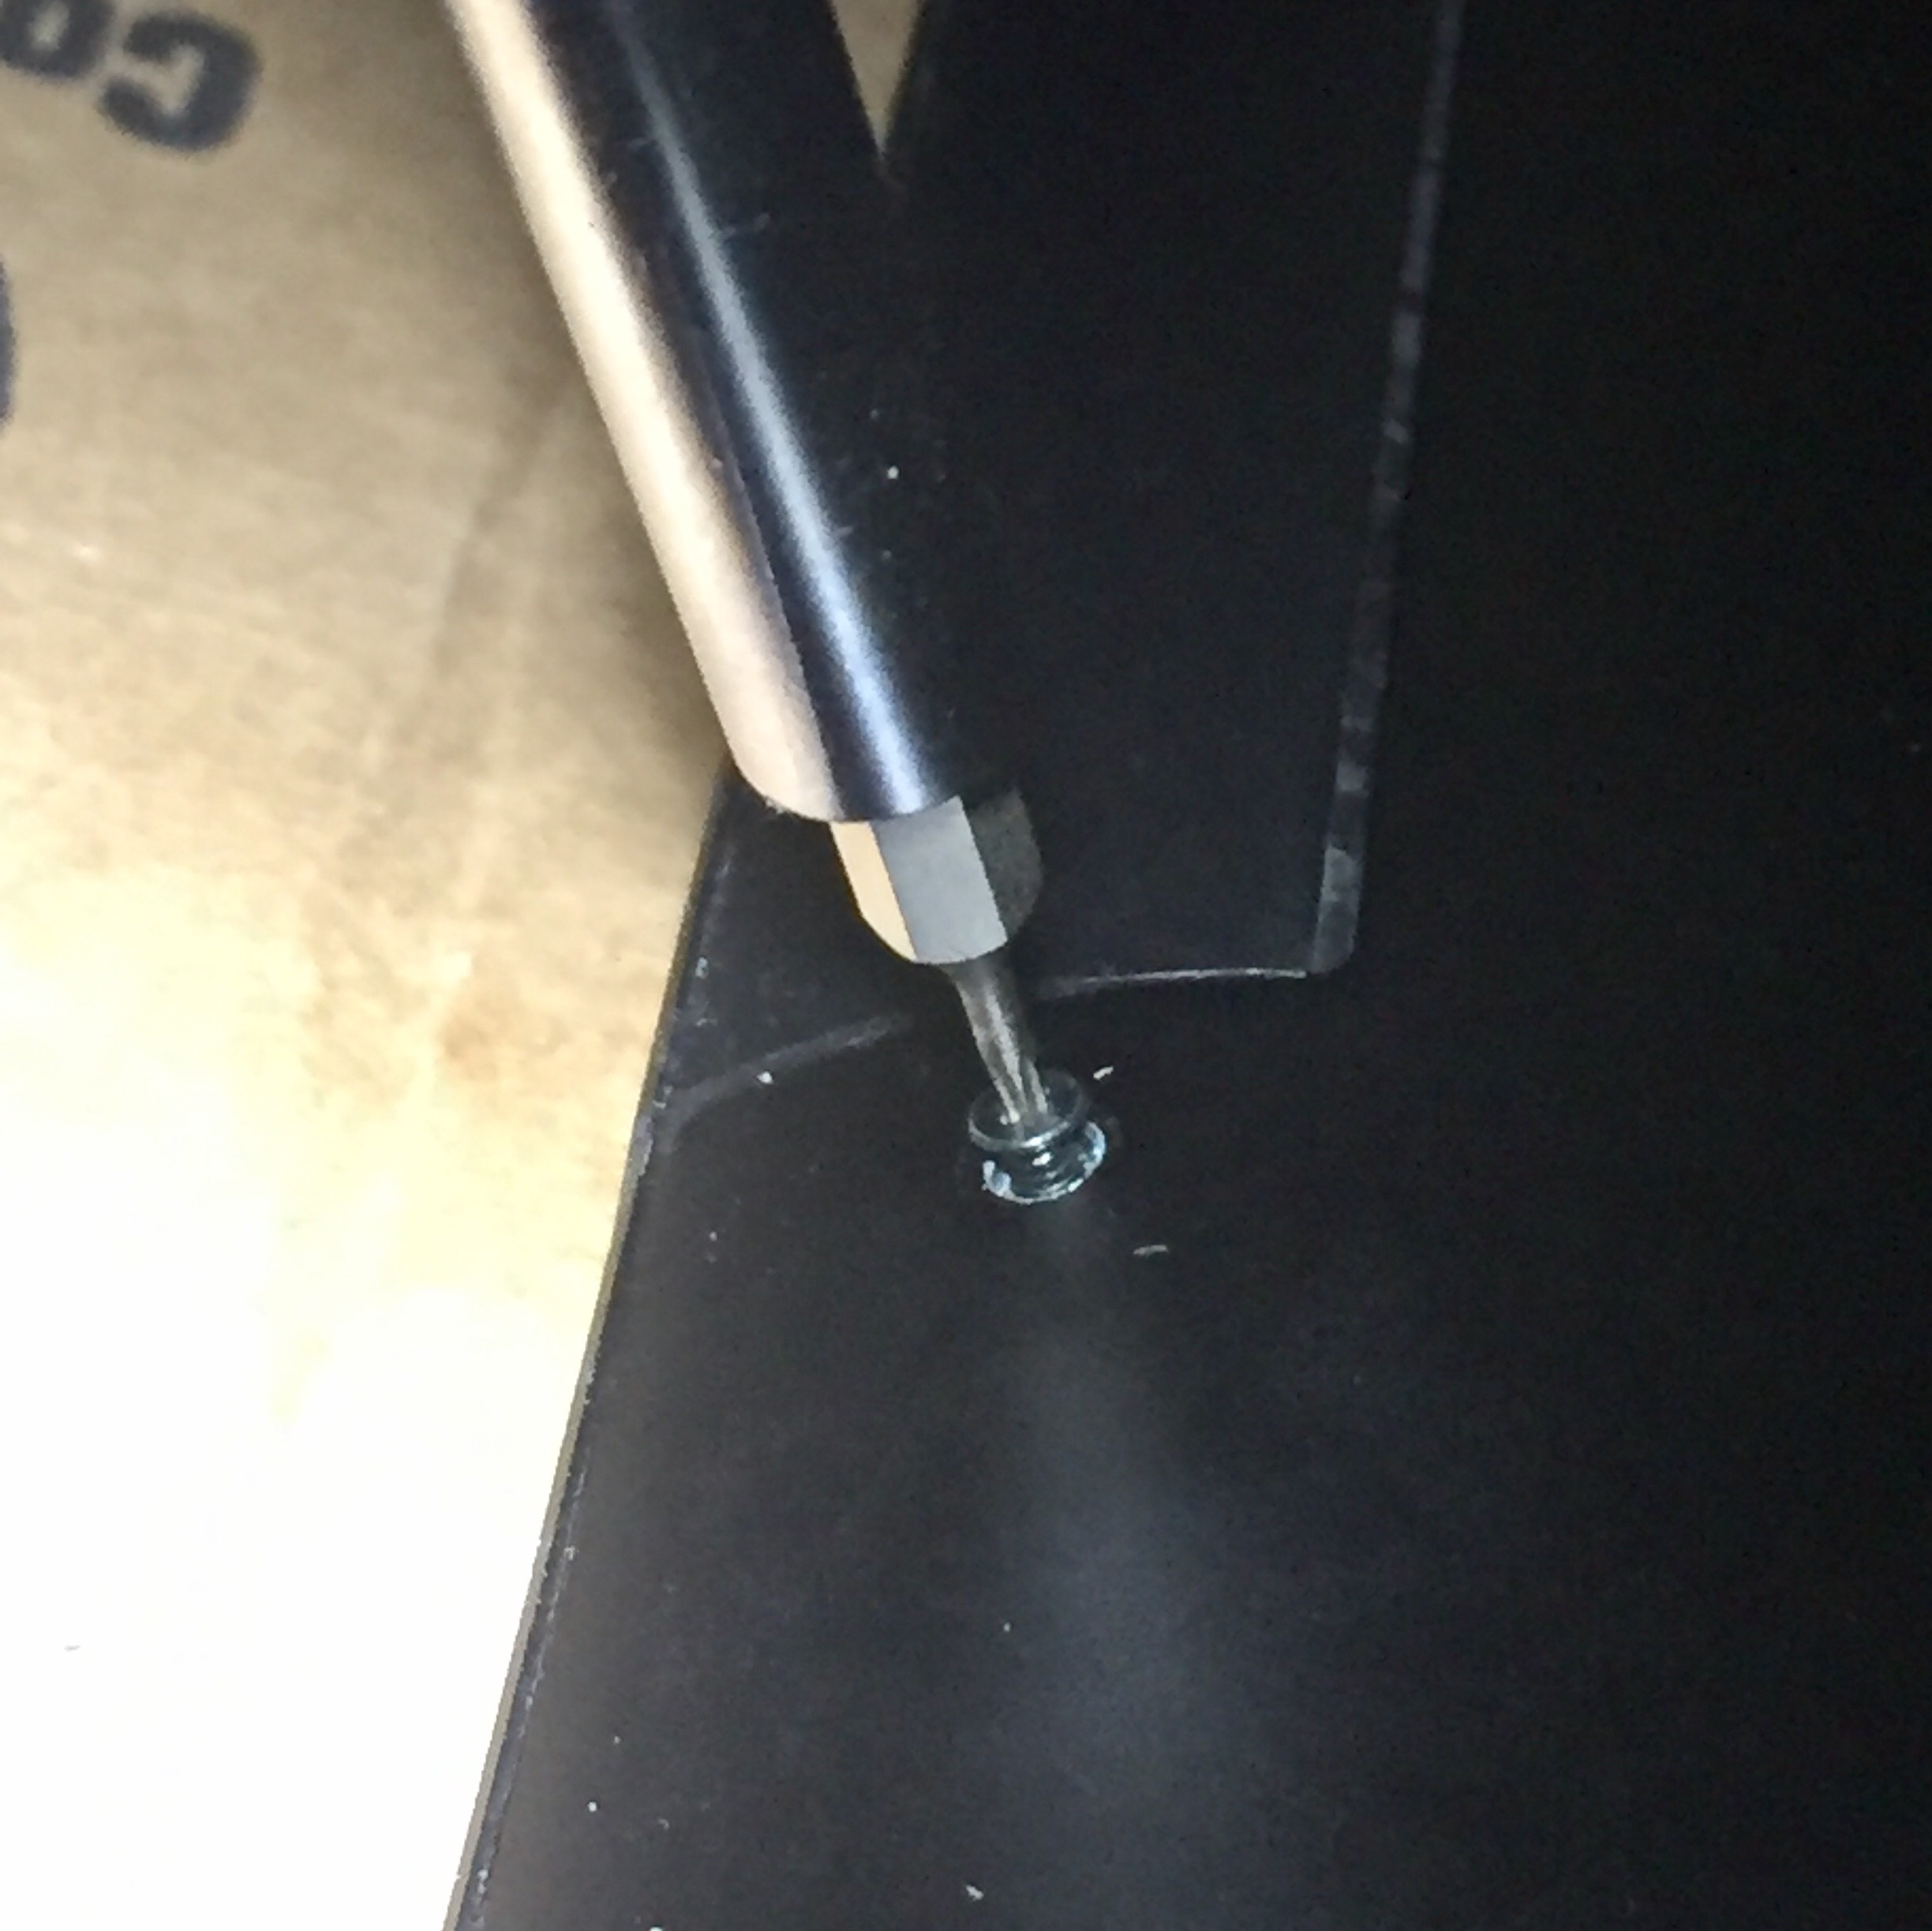
The biggest issue was it required a #4 torx screwdriver to get the back plate off. These things are tiny!
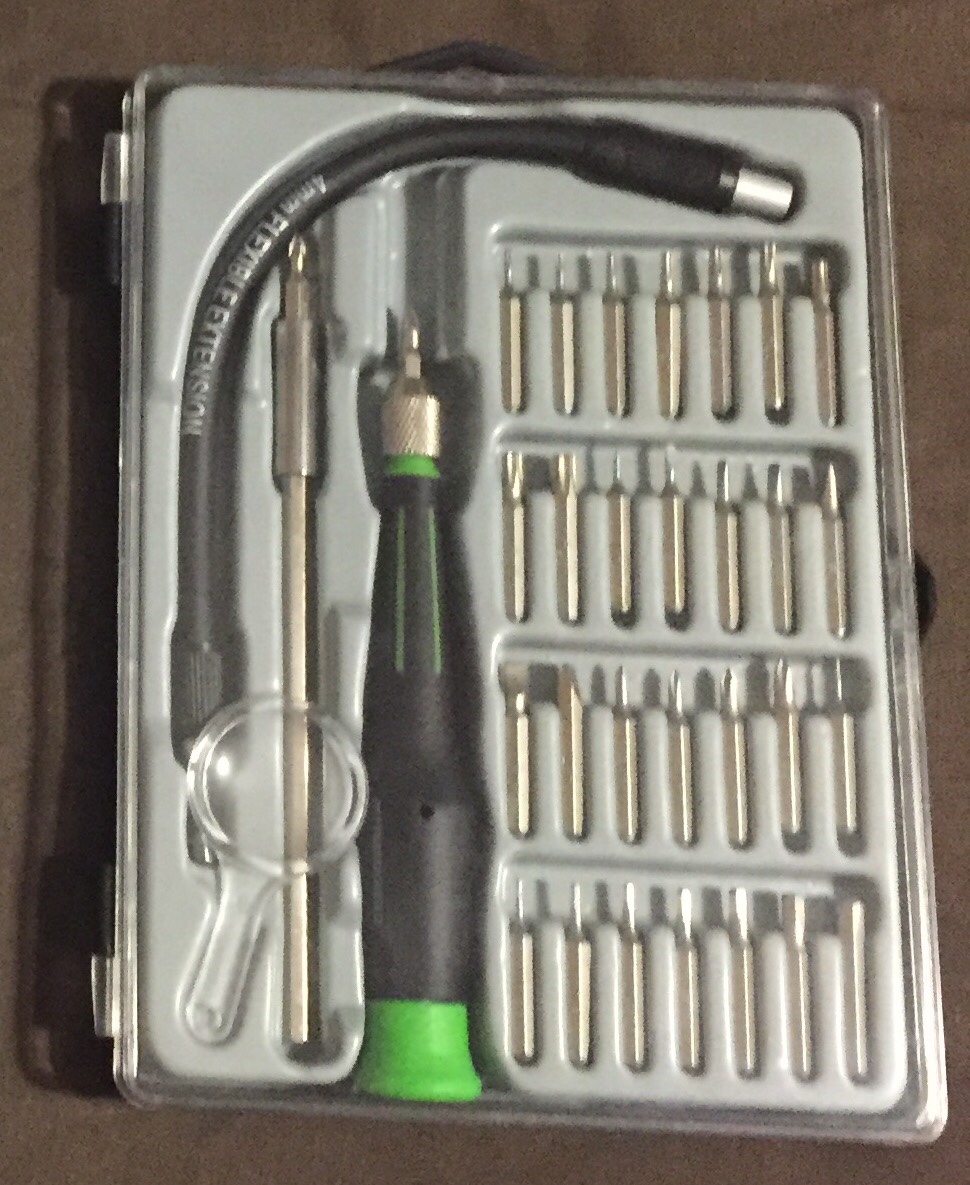
I had to buy a new set of precision screwdrivers to get a small enough screwdriver.
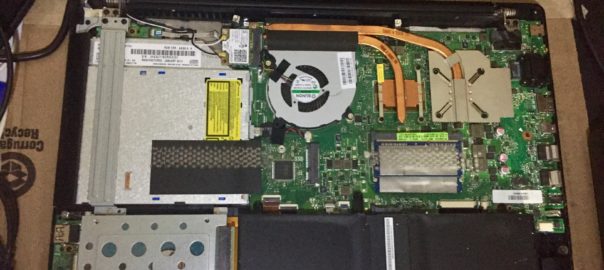
With the tiny screwdriver I was able to remove the 10 screws holding the back plate on.
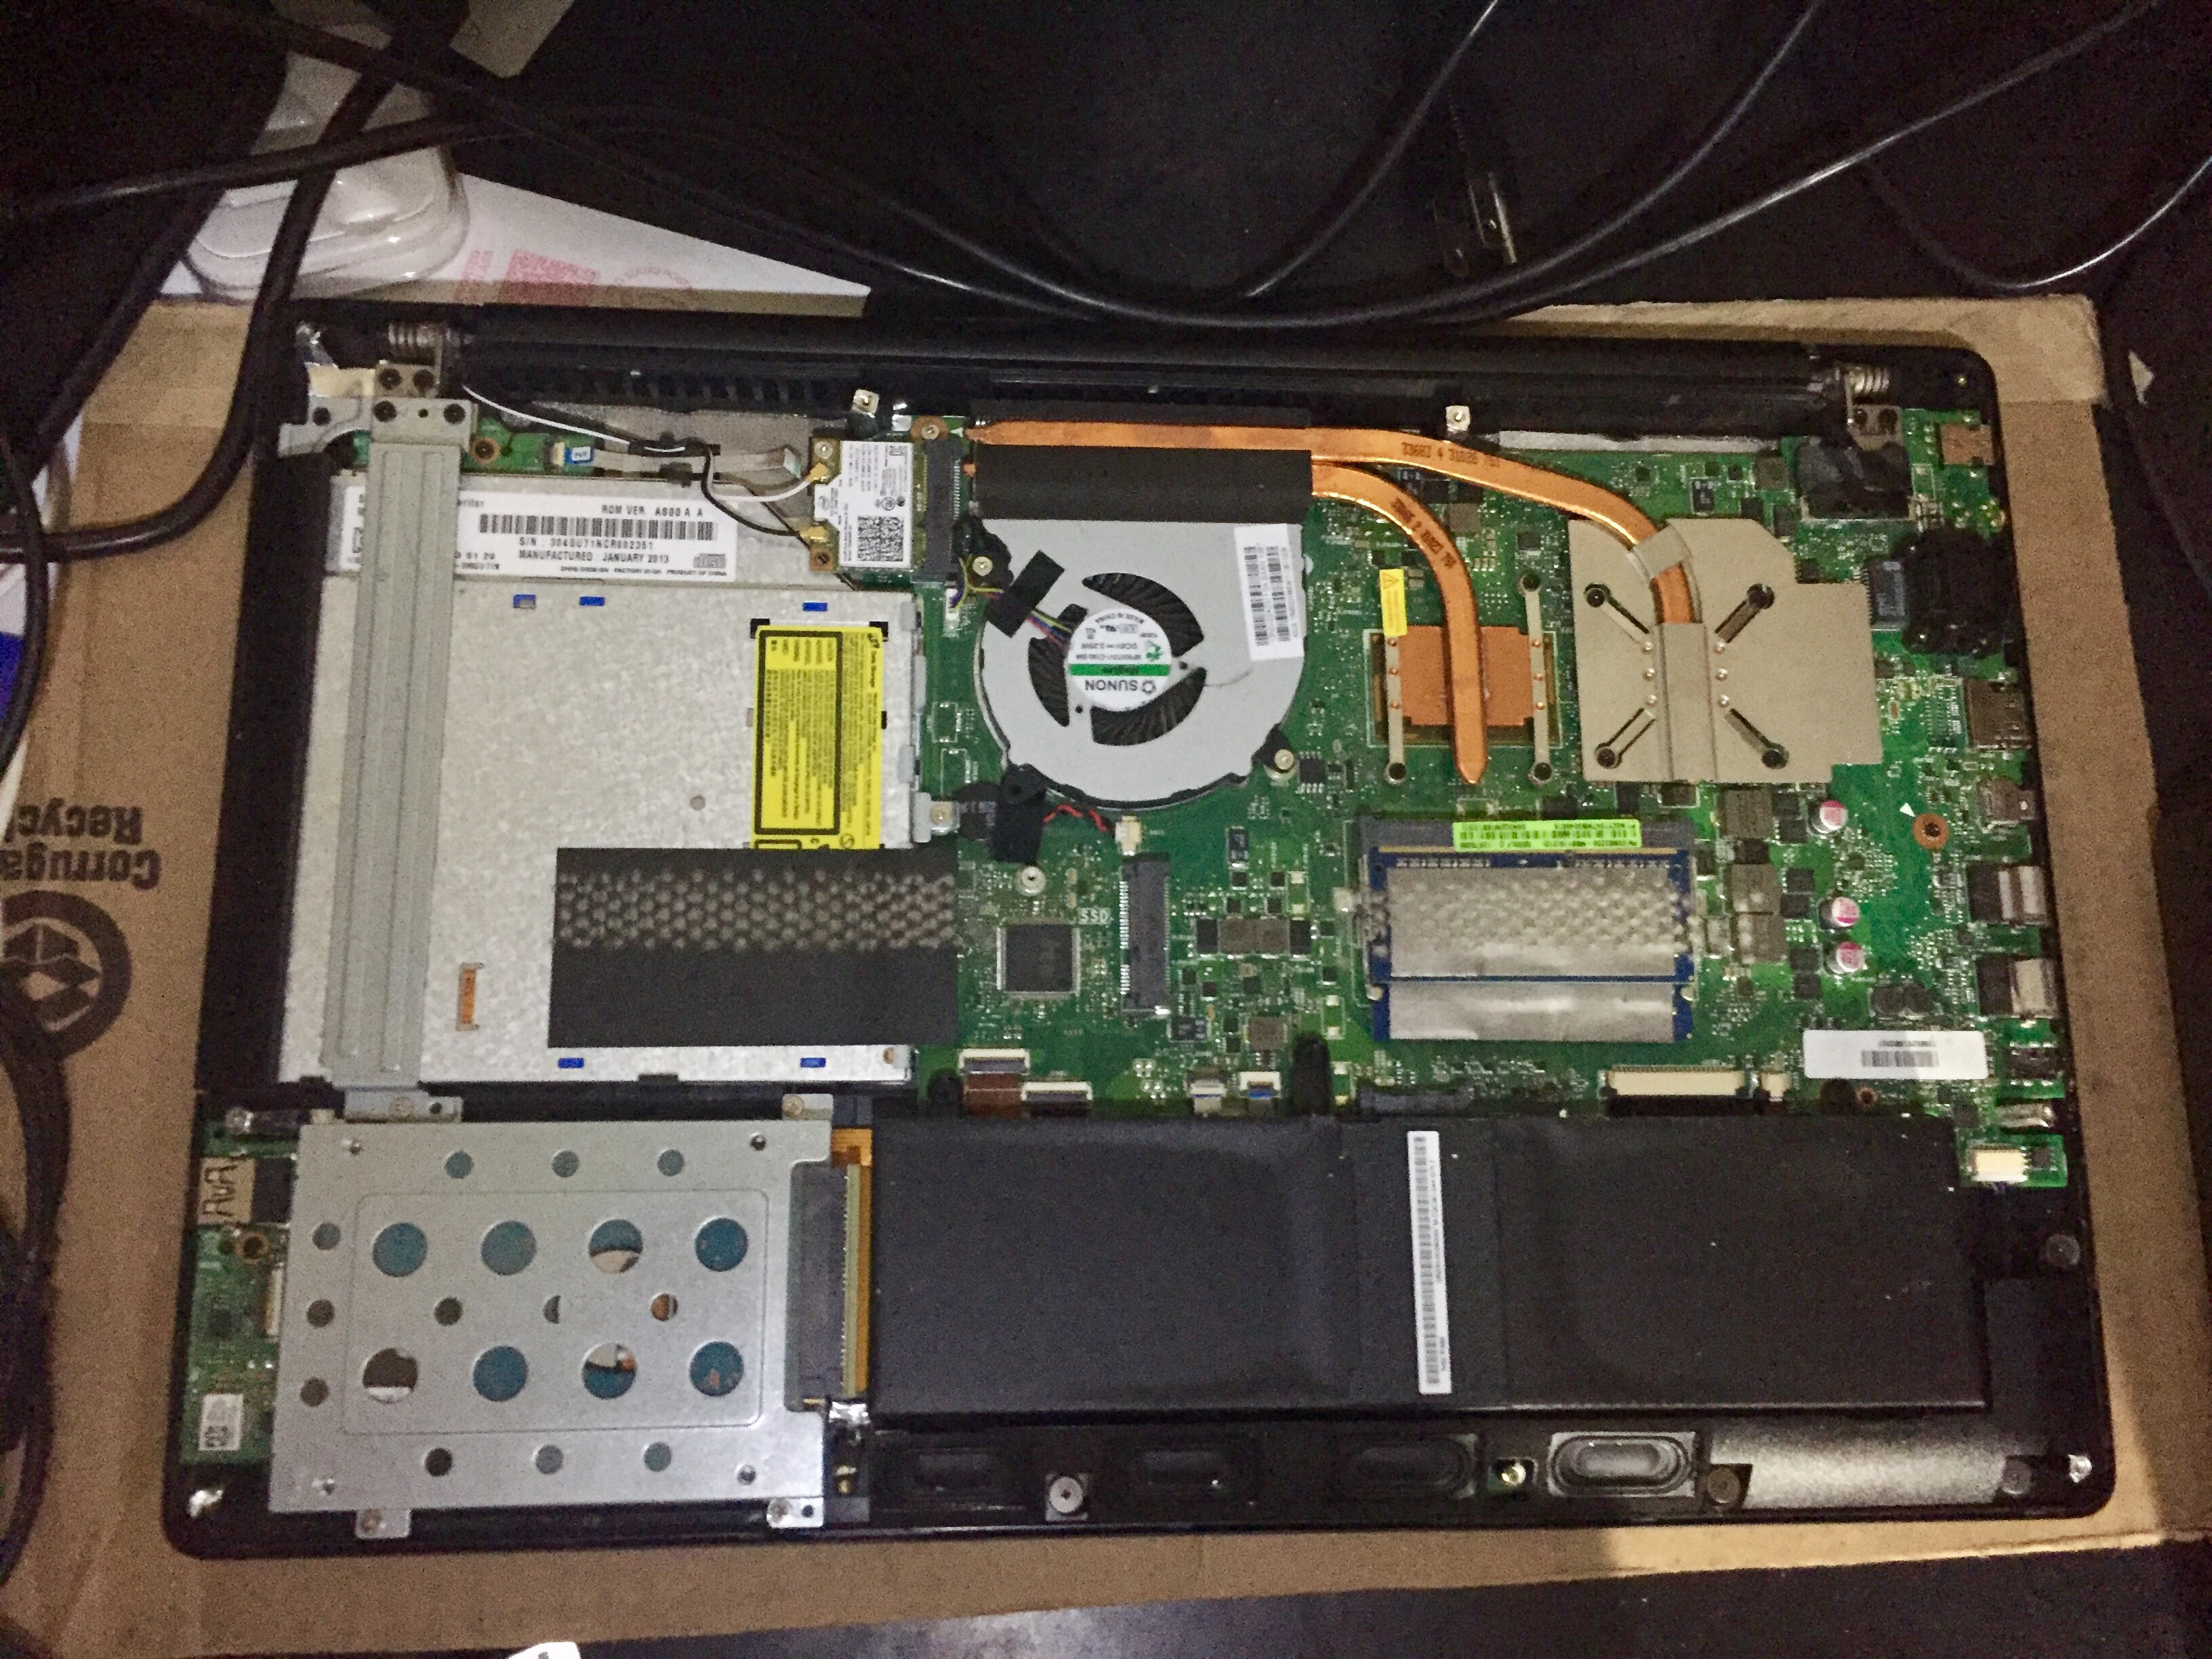
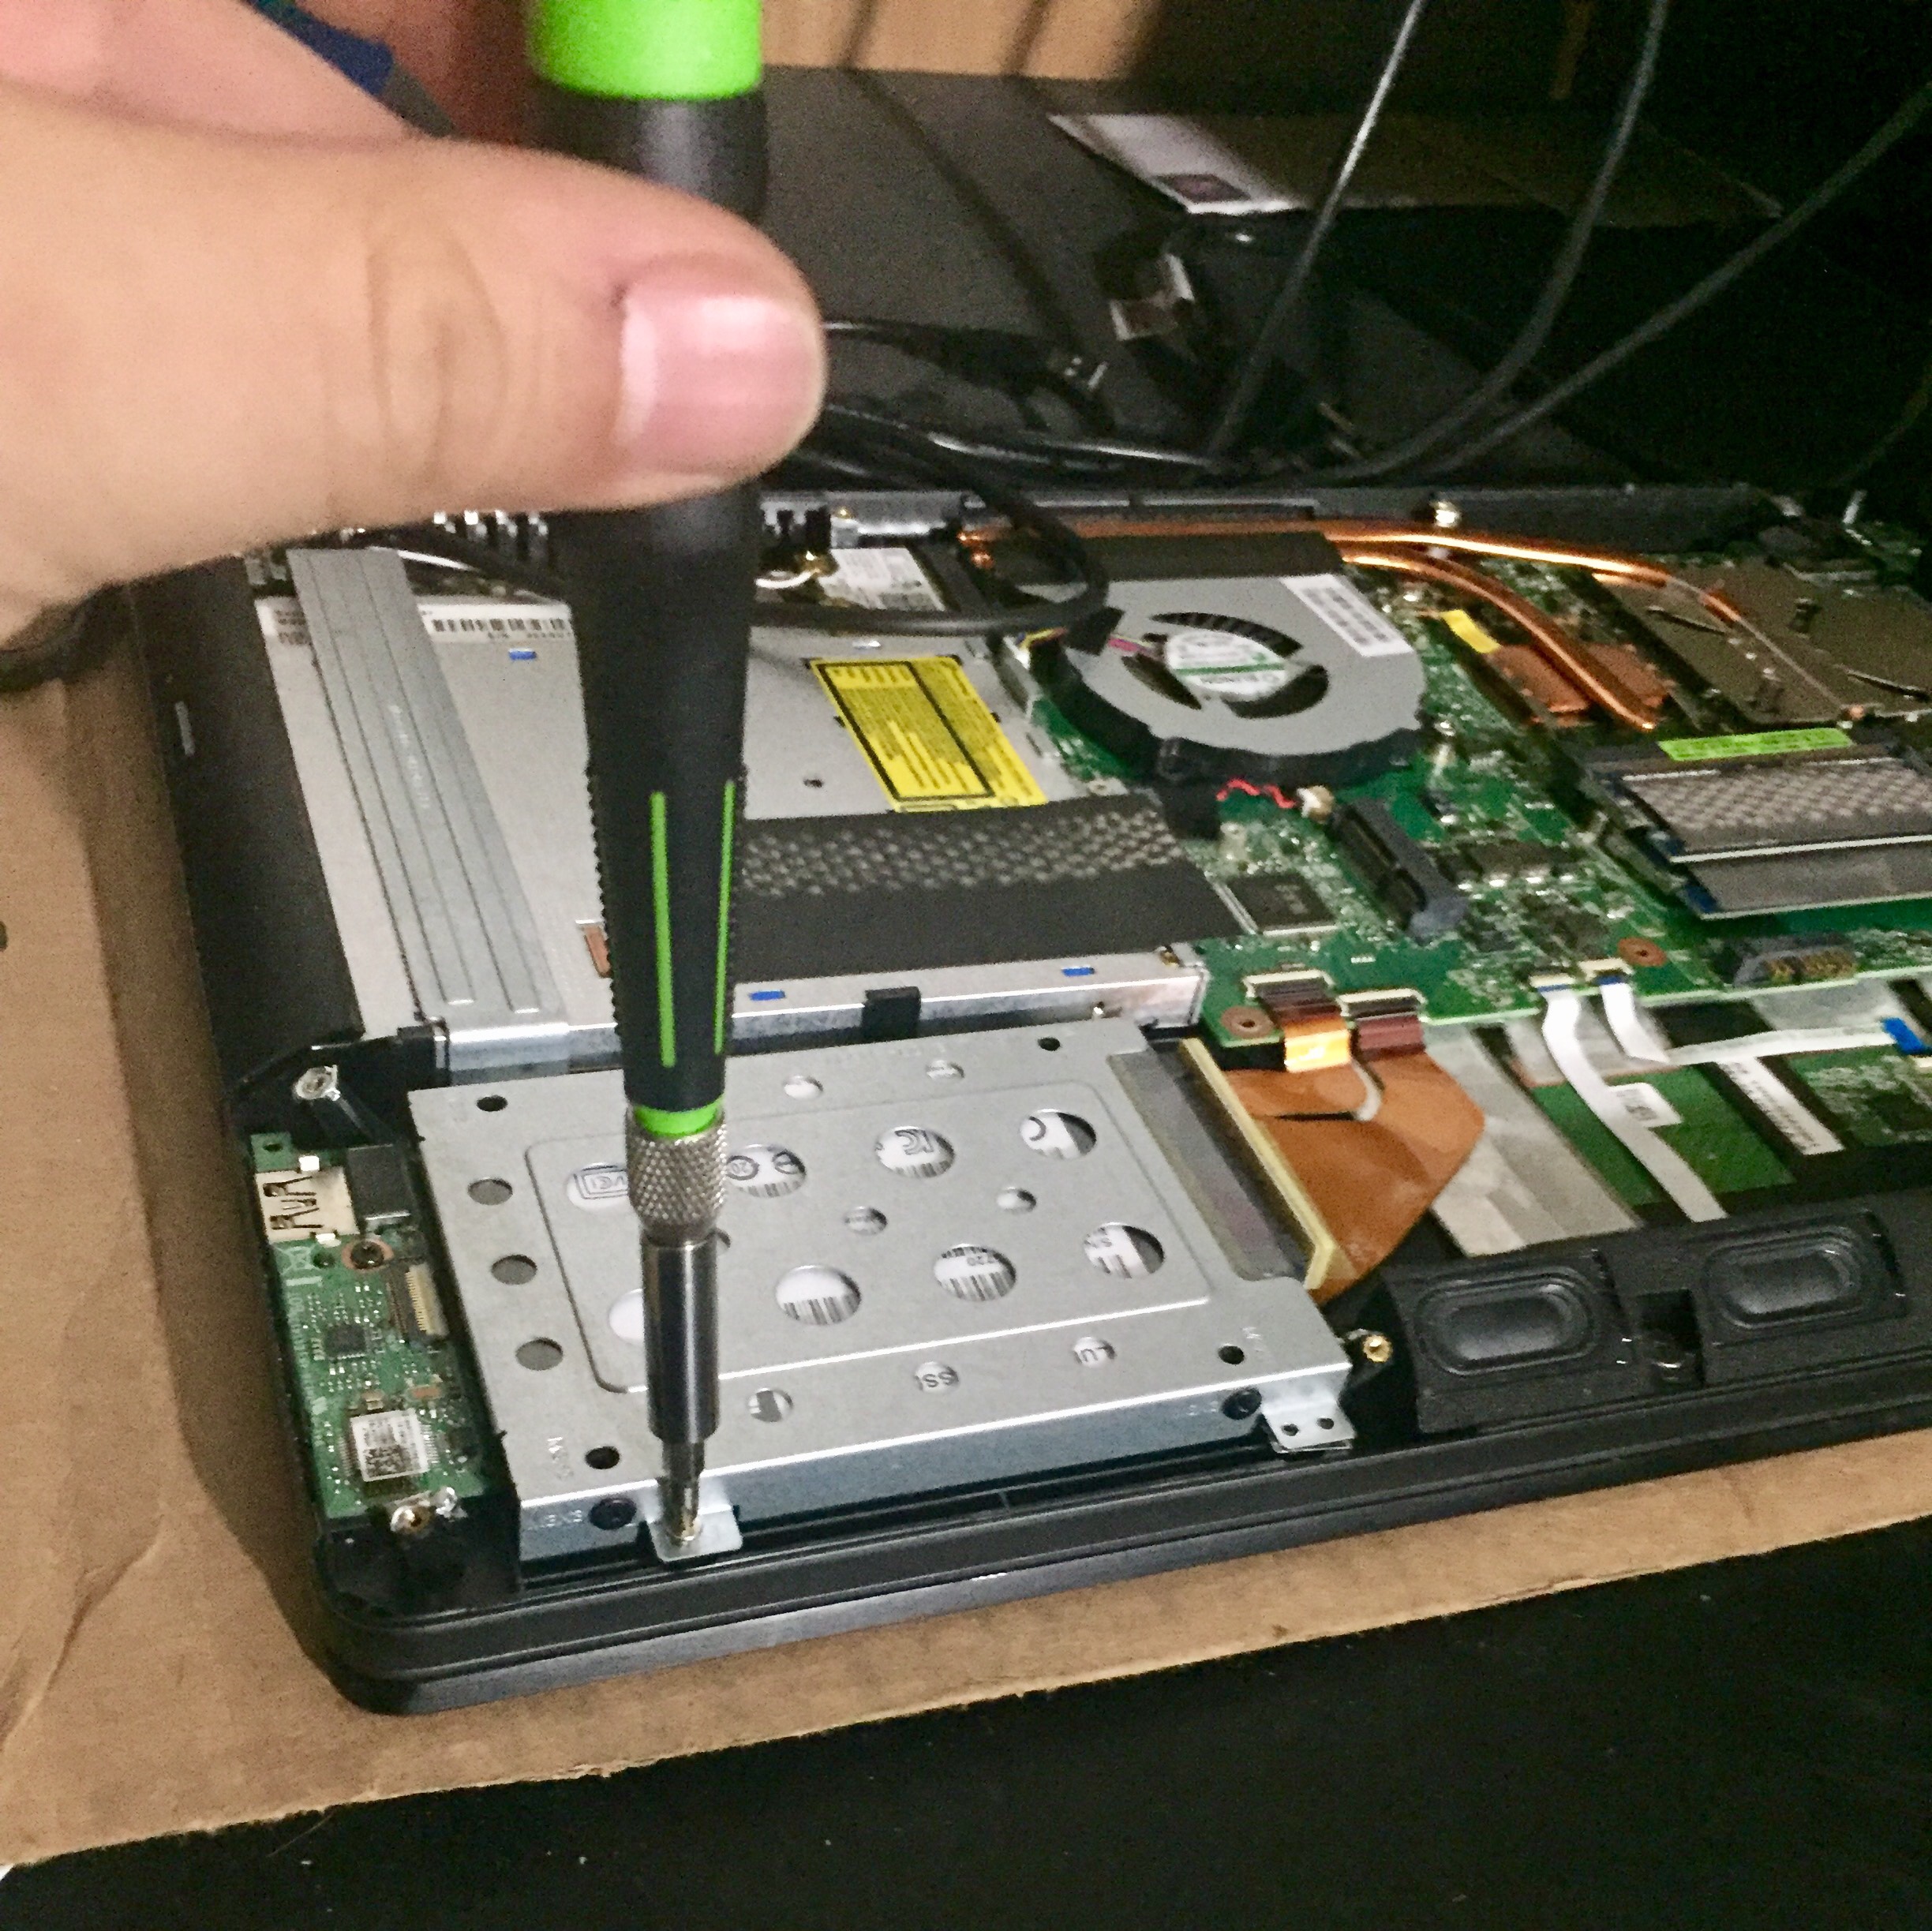
The hard drive is in the bottom left. Four small philips screws hold it in.
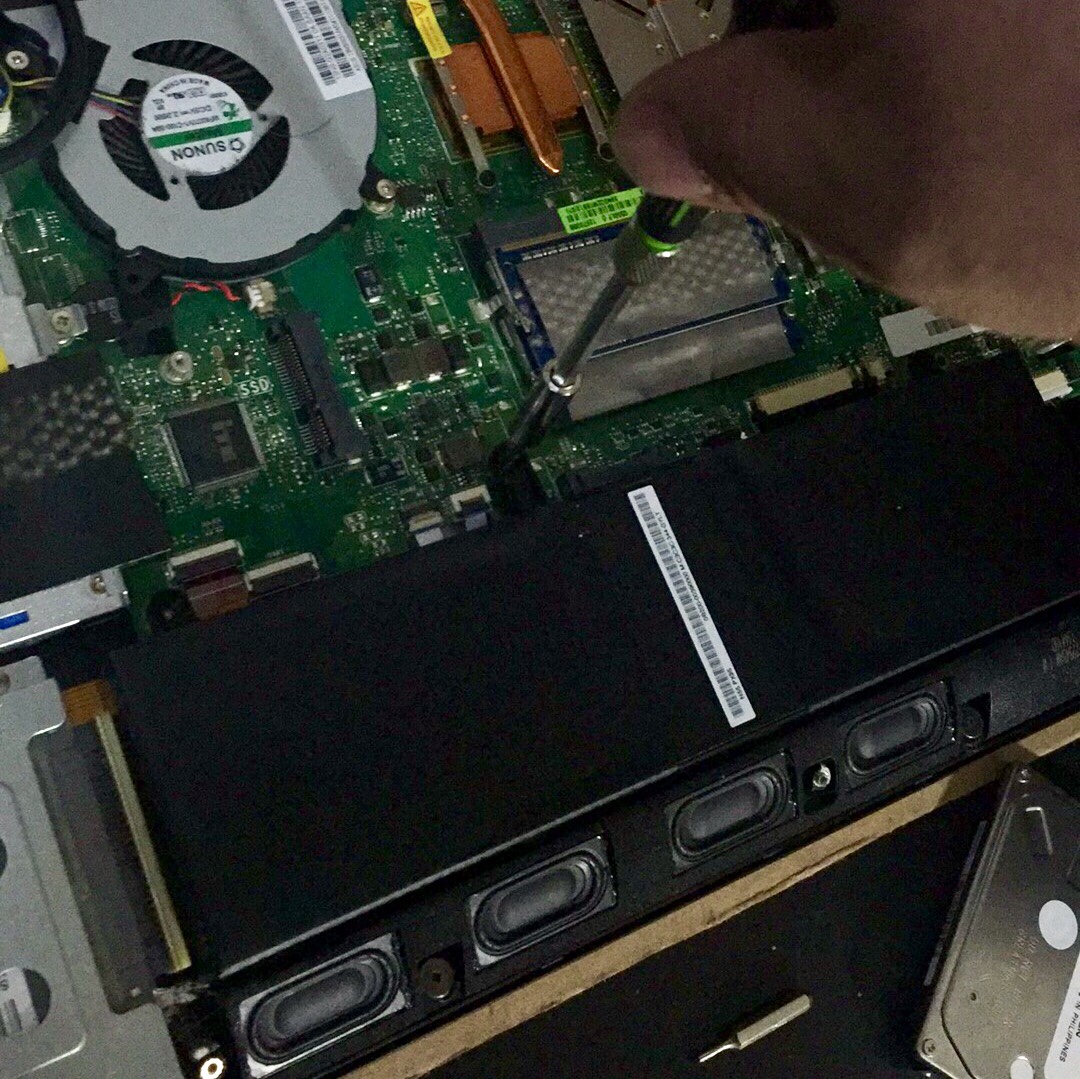
At this point I realized I had to remove the battery in order to get enough play in the SATA ribbon to disconnect the hard drive. Three Phillips screws hold it in.
It’s kind of small.

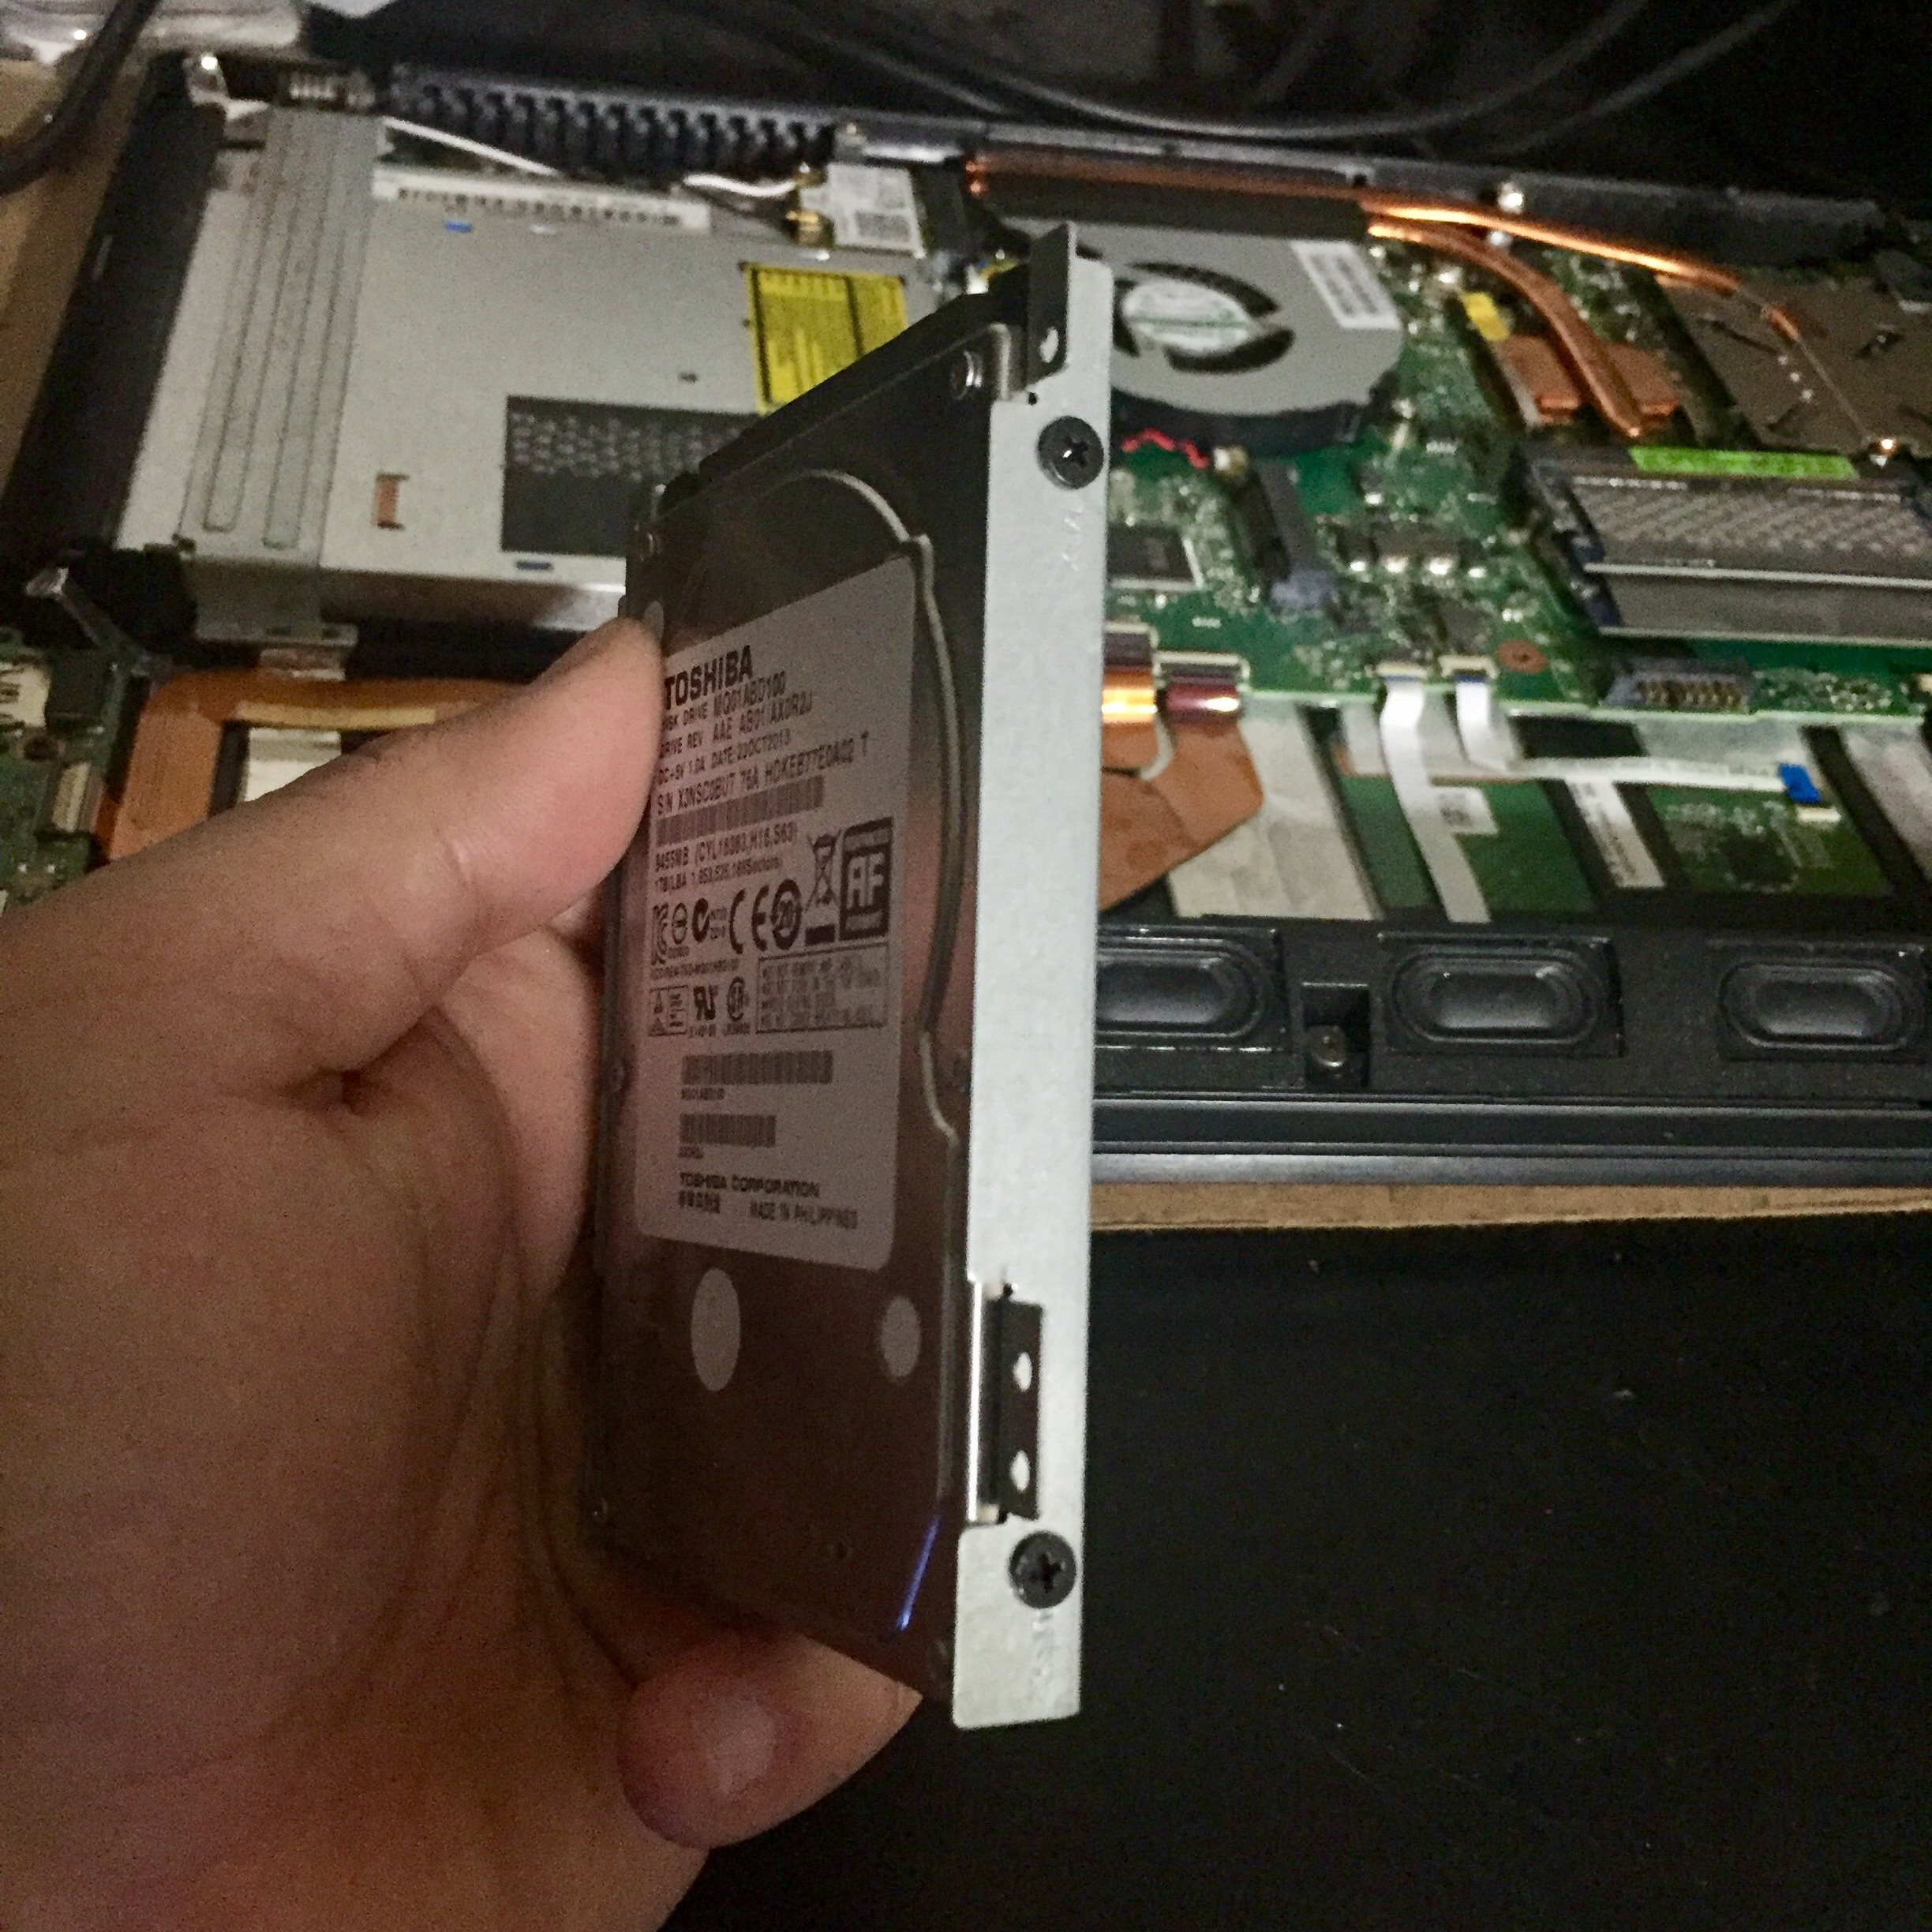
With the battery out of the way, I can lift up the hard drive.
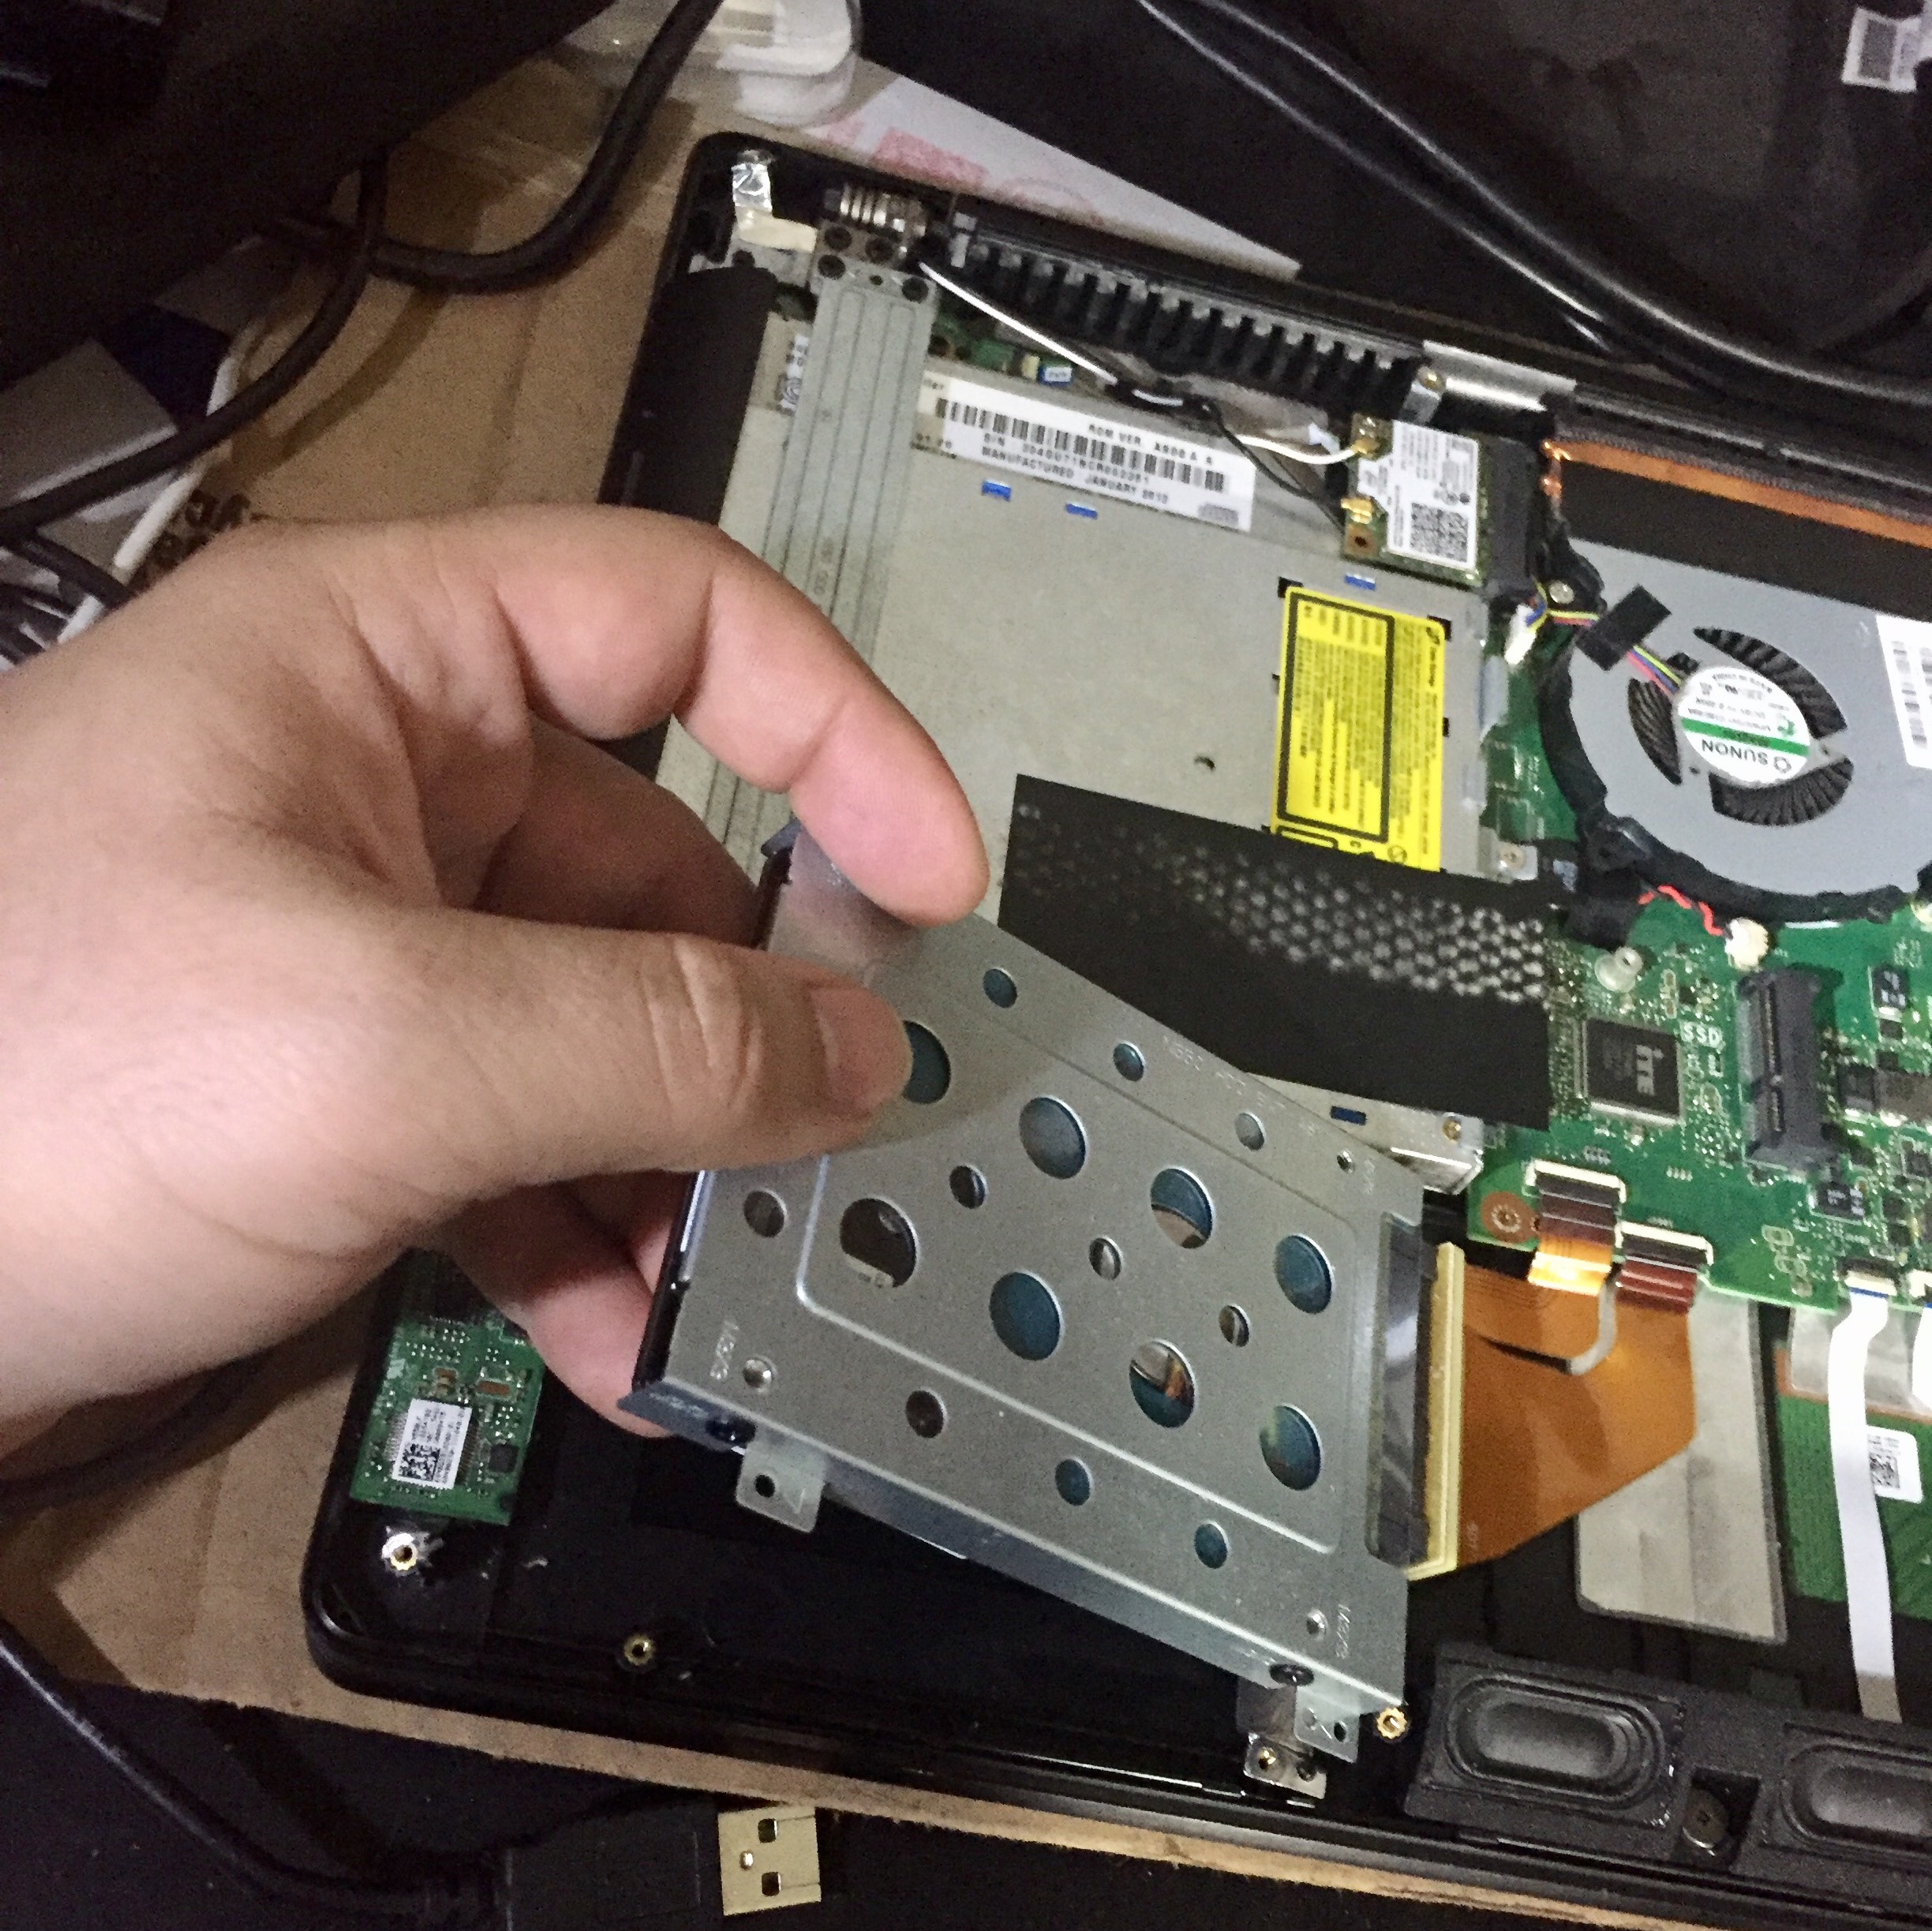
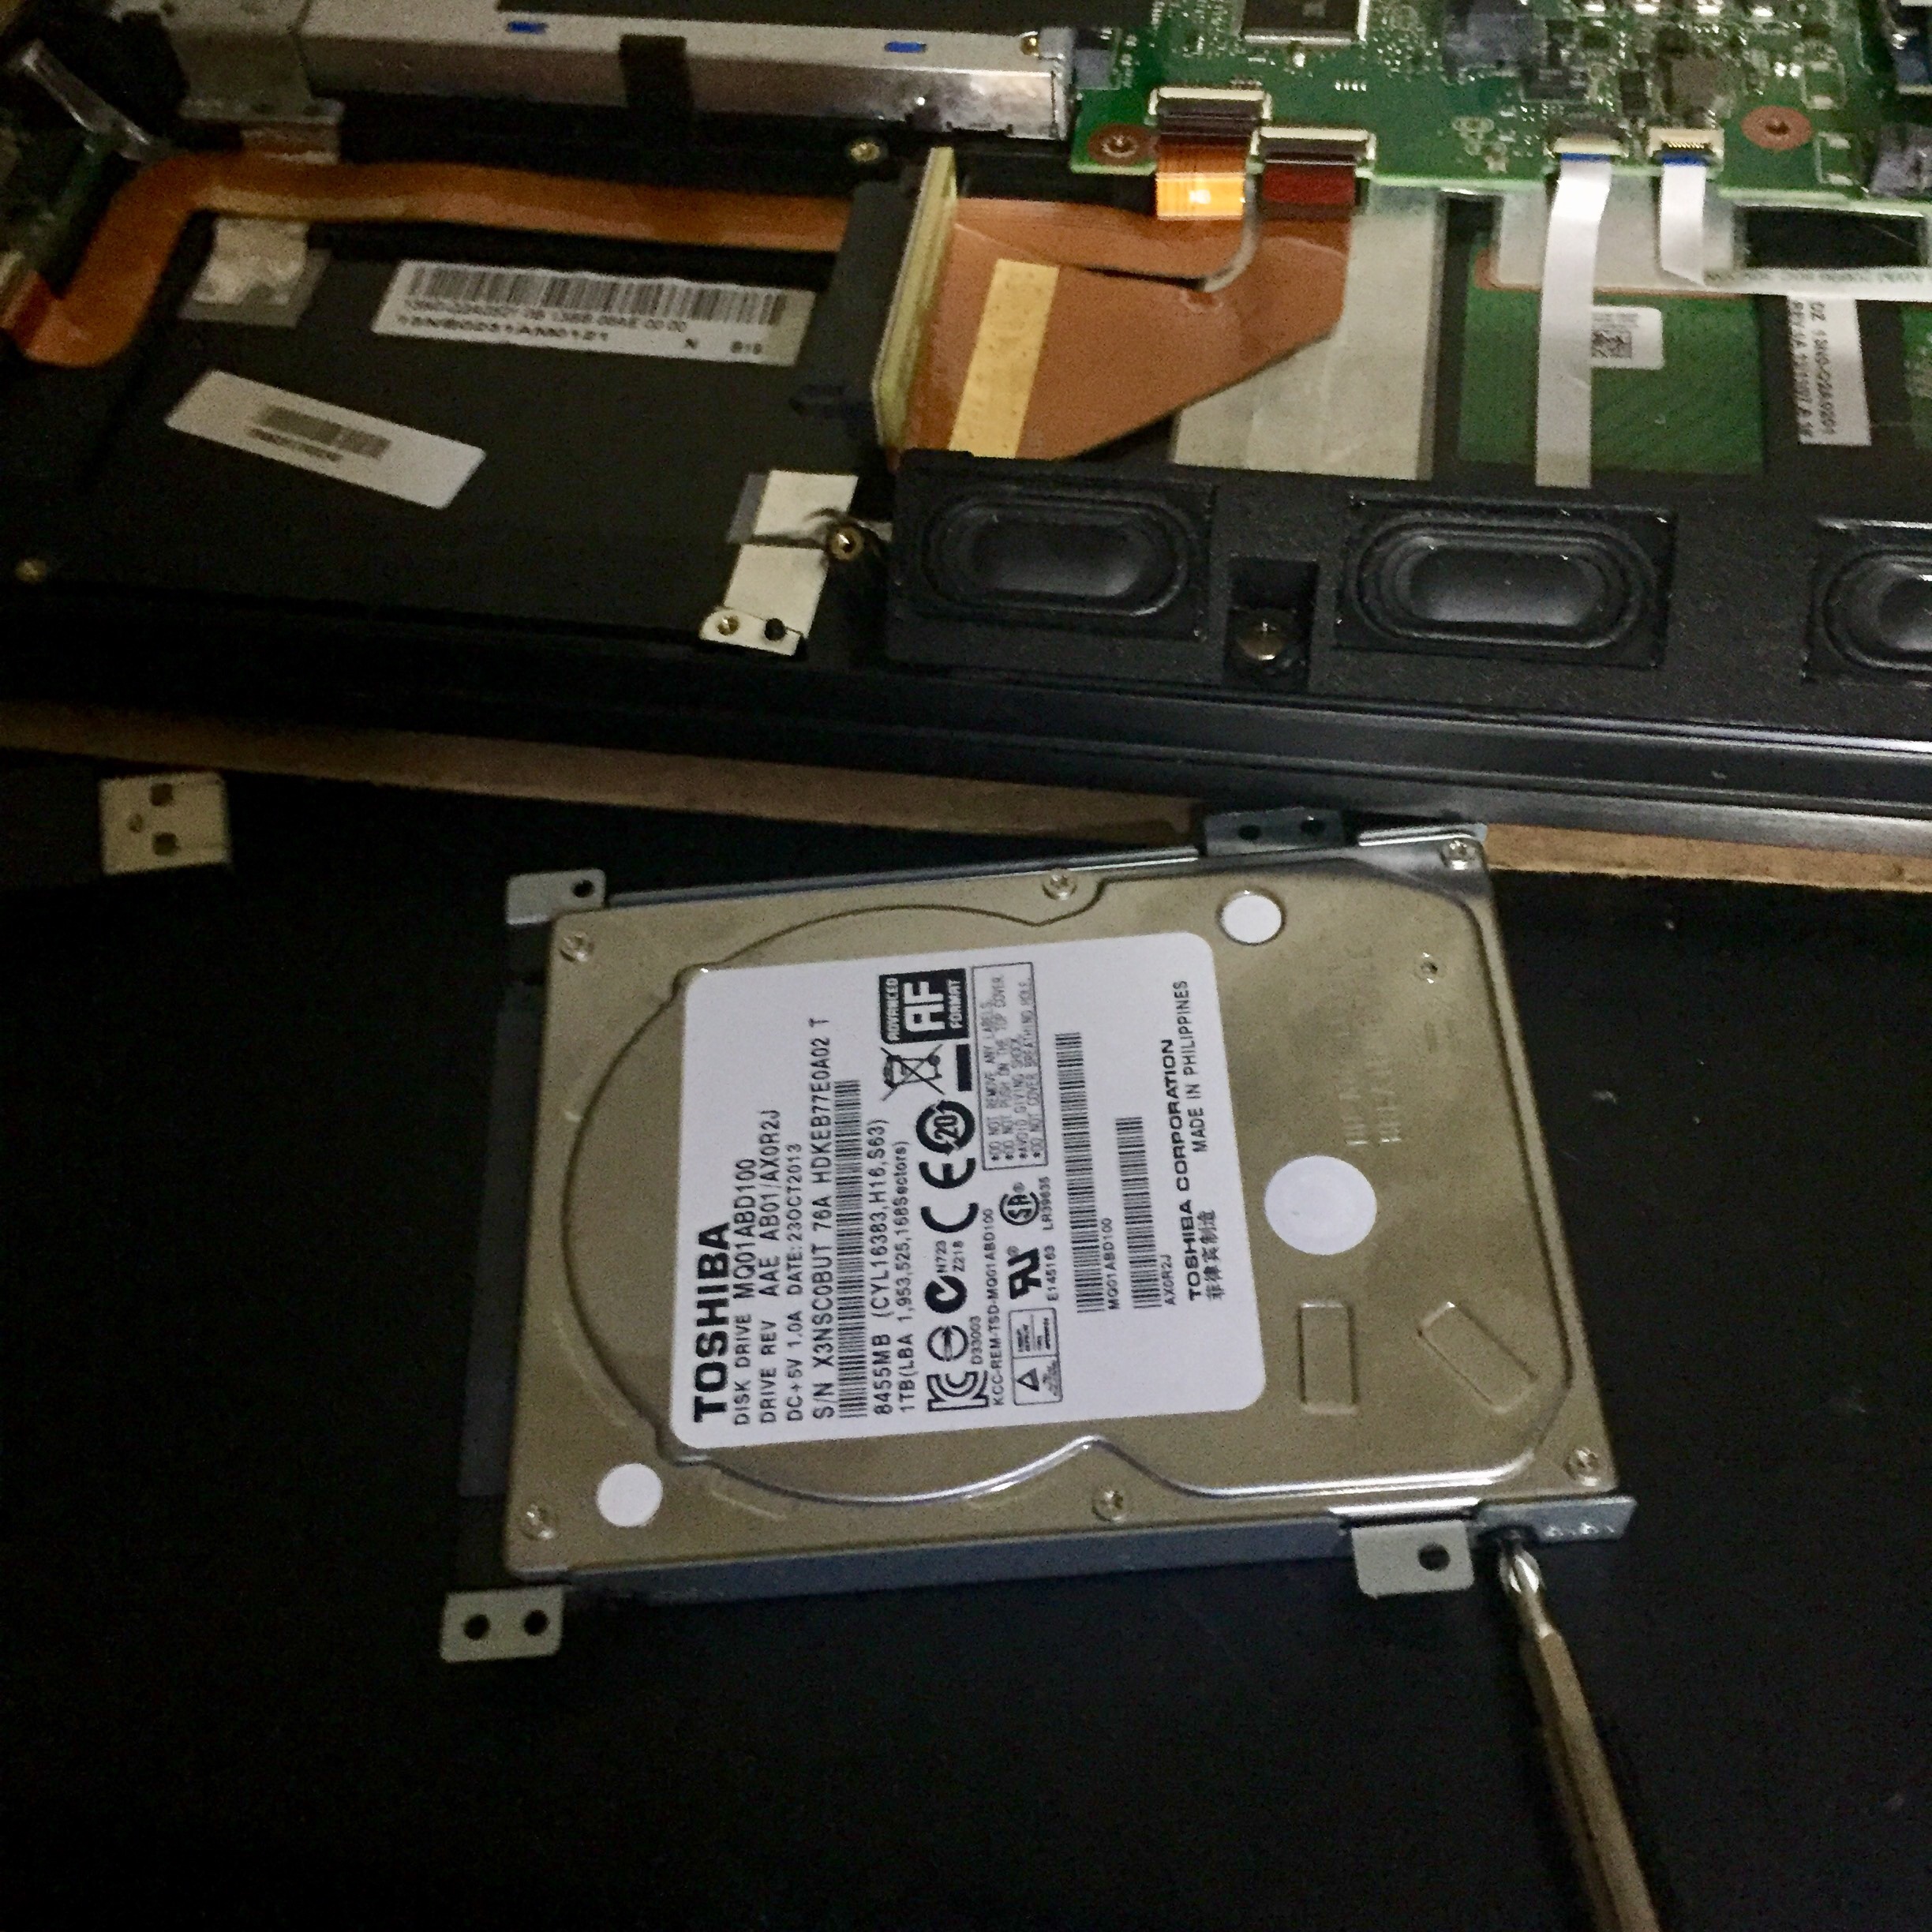
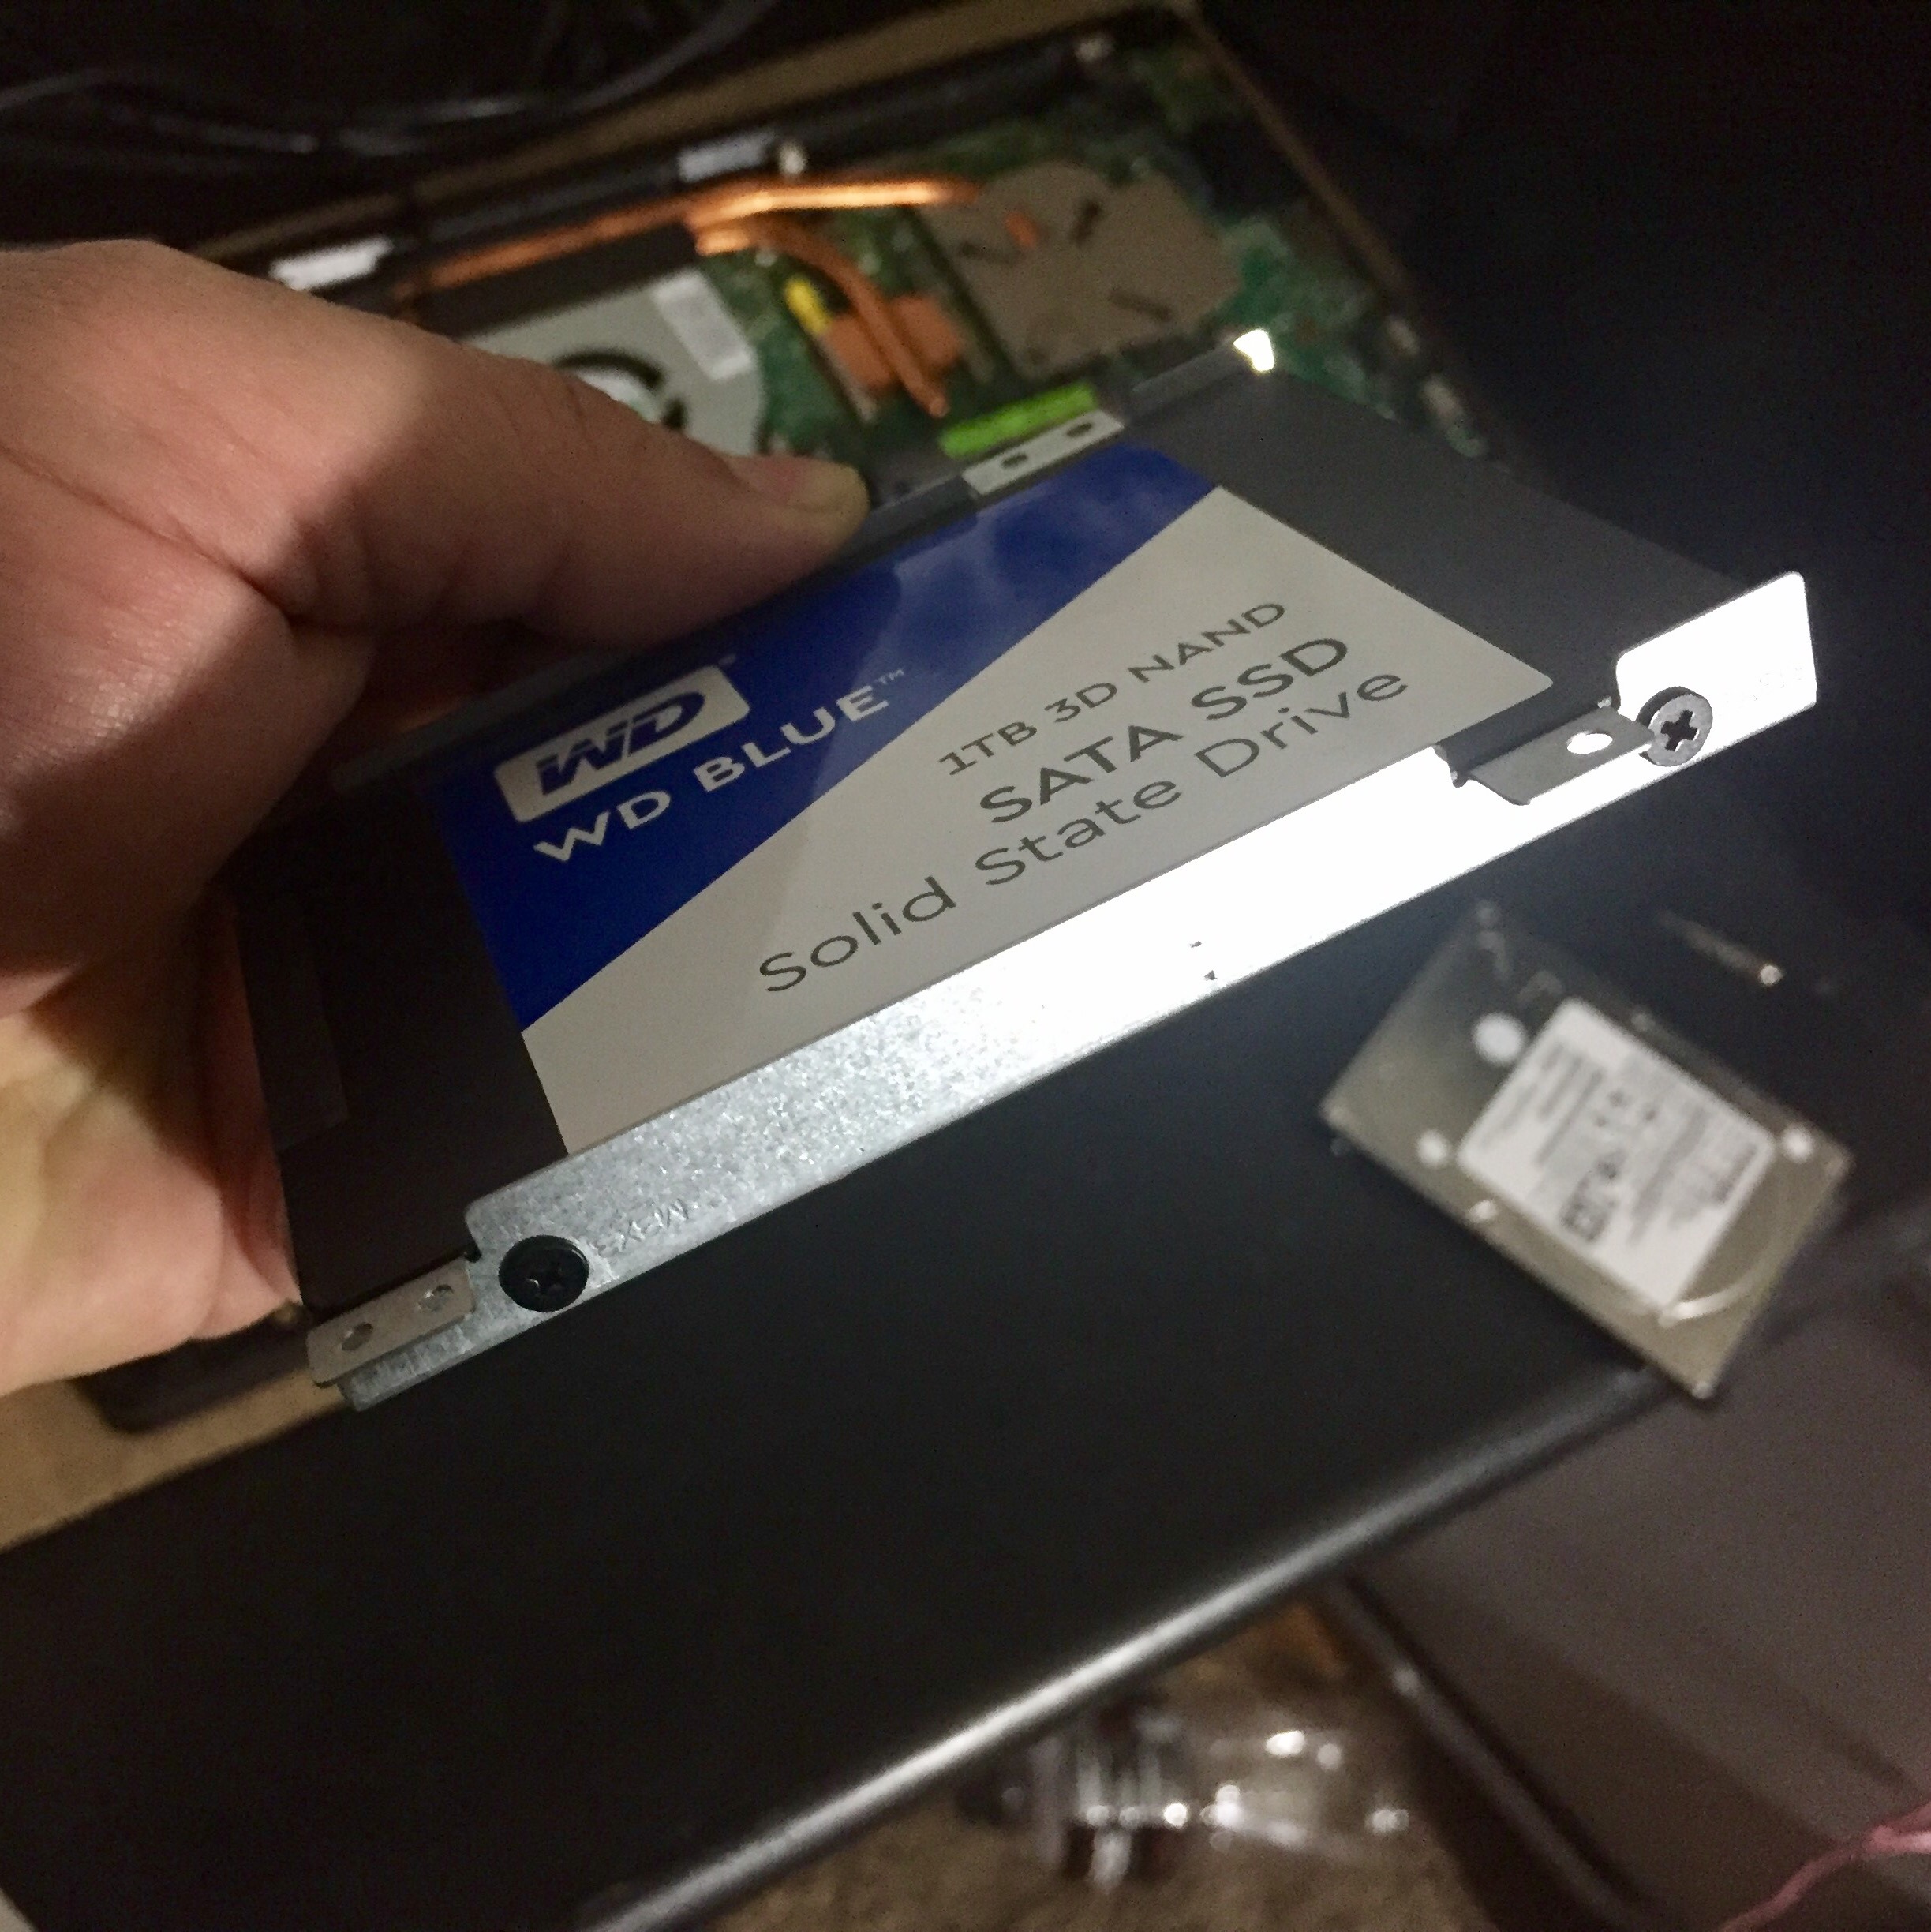
After carefully disconnecting it from the SATA ribbon, it will take removing four more Phillips screws to separate the drive from its caddy.
So many tiny screws.
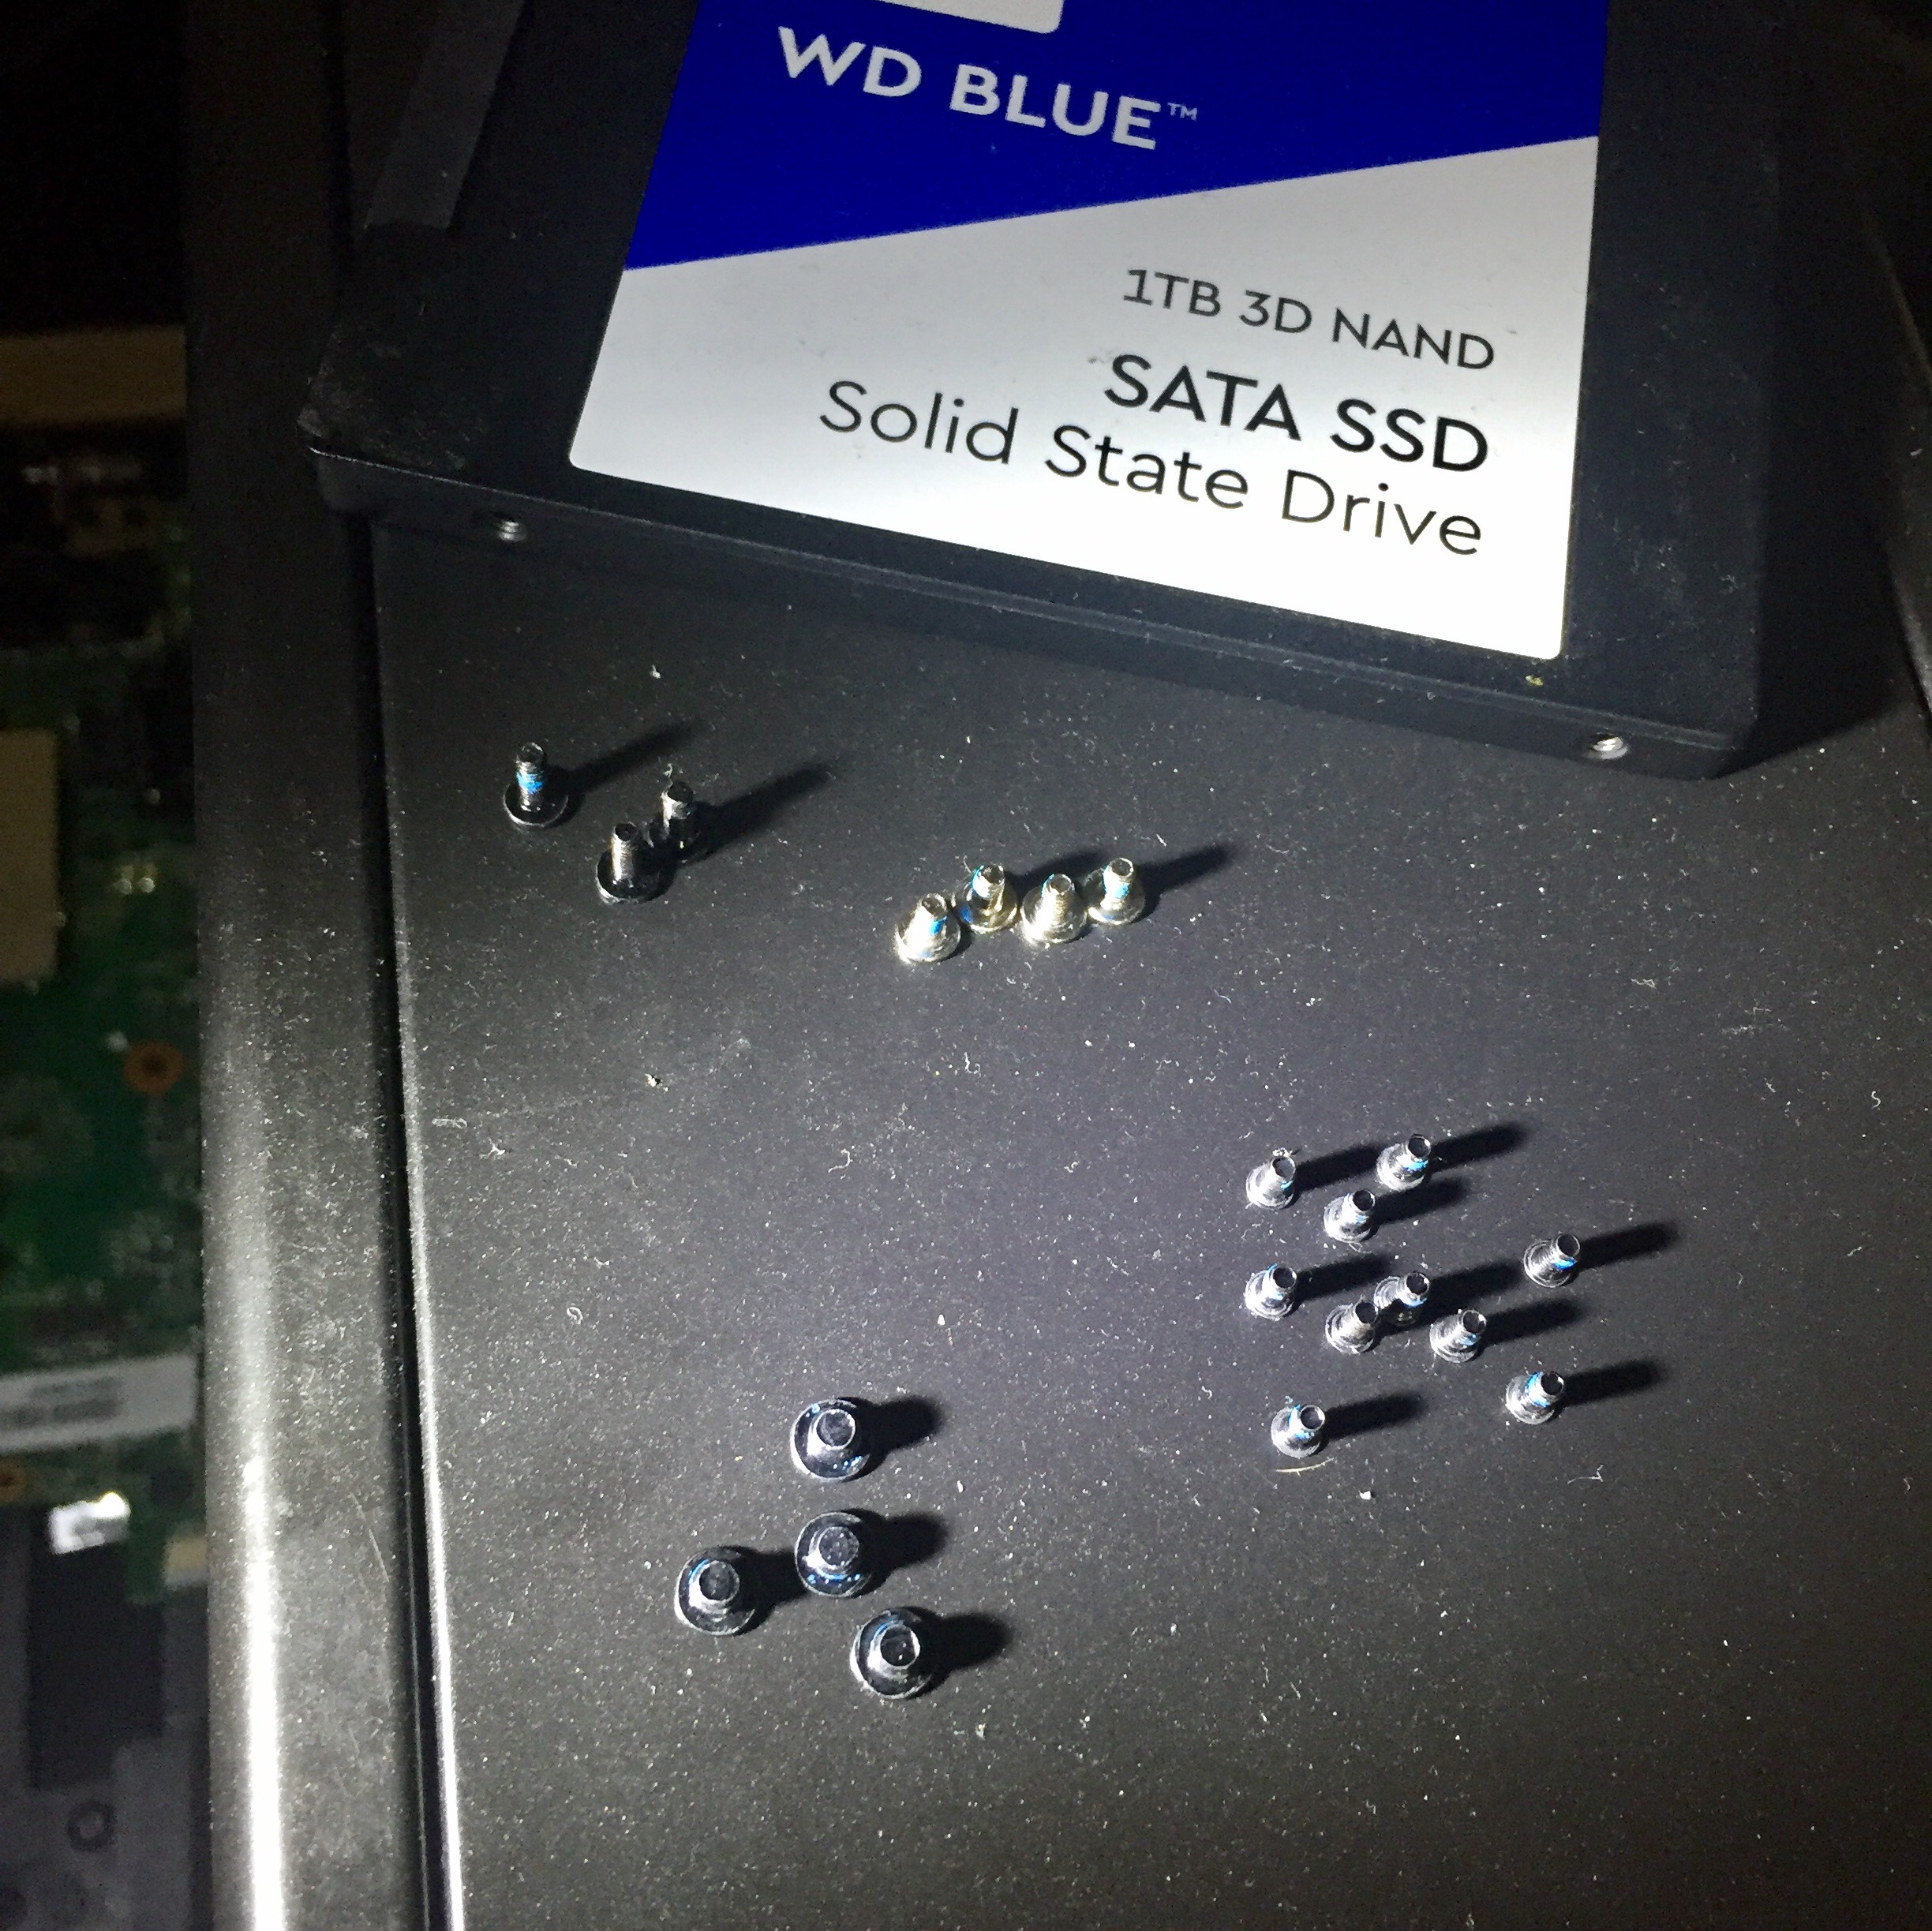
Now I can put the SSD in the caddy and work backwards, attaching it with four screws.
Completing the steps in reverse order puts it back together again. I connect the SATA ribbon, use four screws to secure the drive in its caddy, three to put the battery back in, and finally back to the torx screwdriver to put the back plate back on.
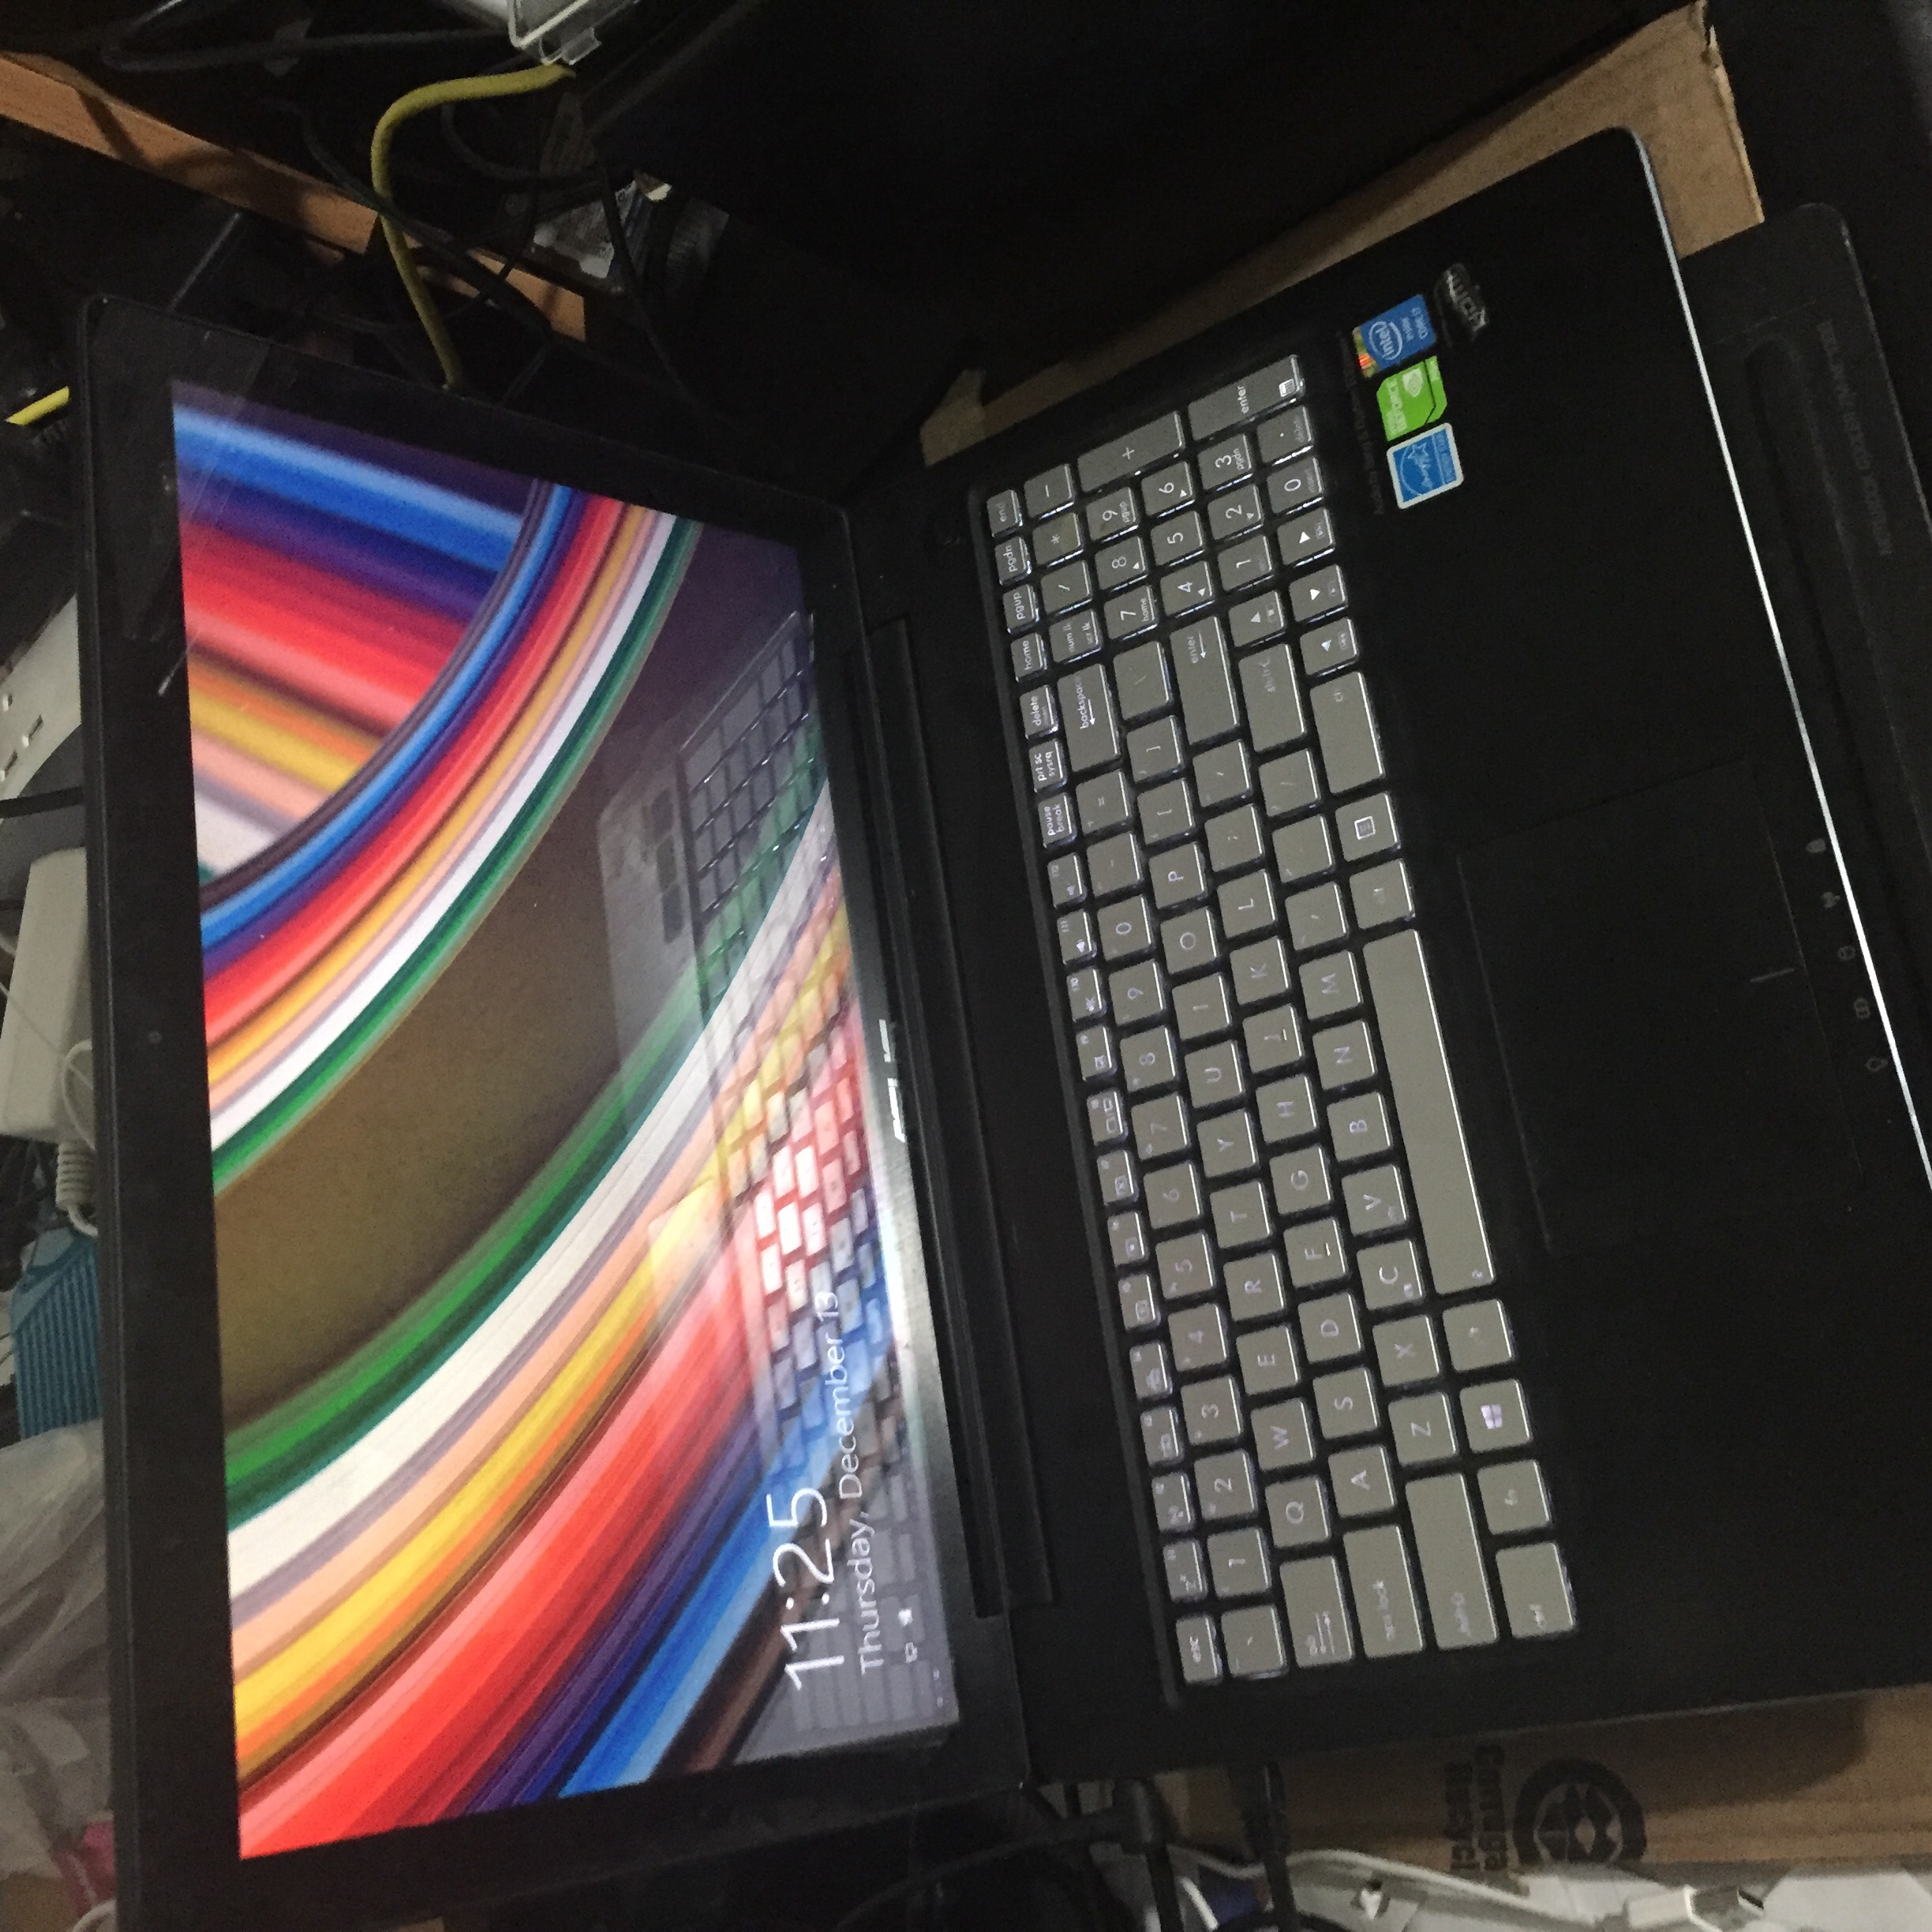
I fire it up, and windows is decidedly much faster to boot up now :). Everything looks good to go!
I had previously cloned my hard drive to the SSD. I used a SATA-to-USB adapter cable and a flash drive with Clonezilla on it to do the clone. Maybe I’ll do a write-up on that process sometime.
To finish off, here’s a picture of my little “helpers” :). Hope that helps!